
Bublup’s interactive Community Directory & Map feature lets you see where community members and entities are located around the world—bringing people together.
The map shows pins or clusters of where members are located based on their profile settings. It gives you a live, zoomable view of your group’s geographic spread, offering a better sense of the global community you’re a part of.
Privacy note: Users must opt-in to share their approximate location. Exact addresses are never displayed, and locations are generalized for safety.
This feature requires a Business or Enterprise plan to set up, but all community members can participate.
How to Access the Directory & Map
- Open your Community space and go to ••• menu →“Community Directory & Map”.
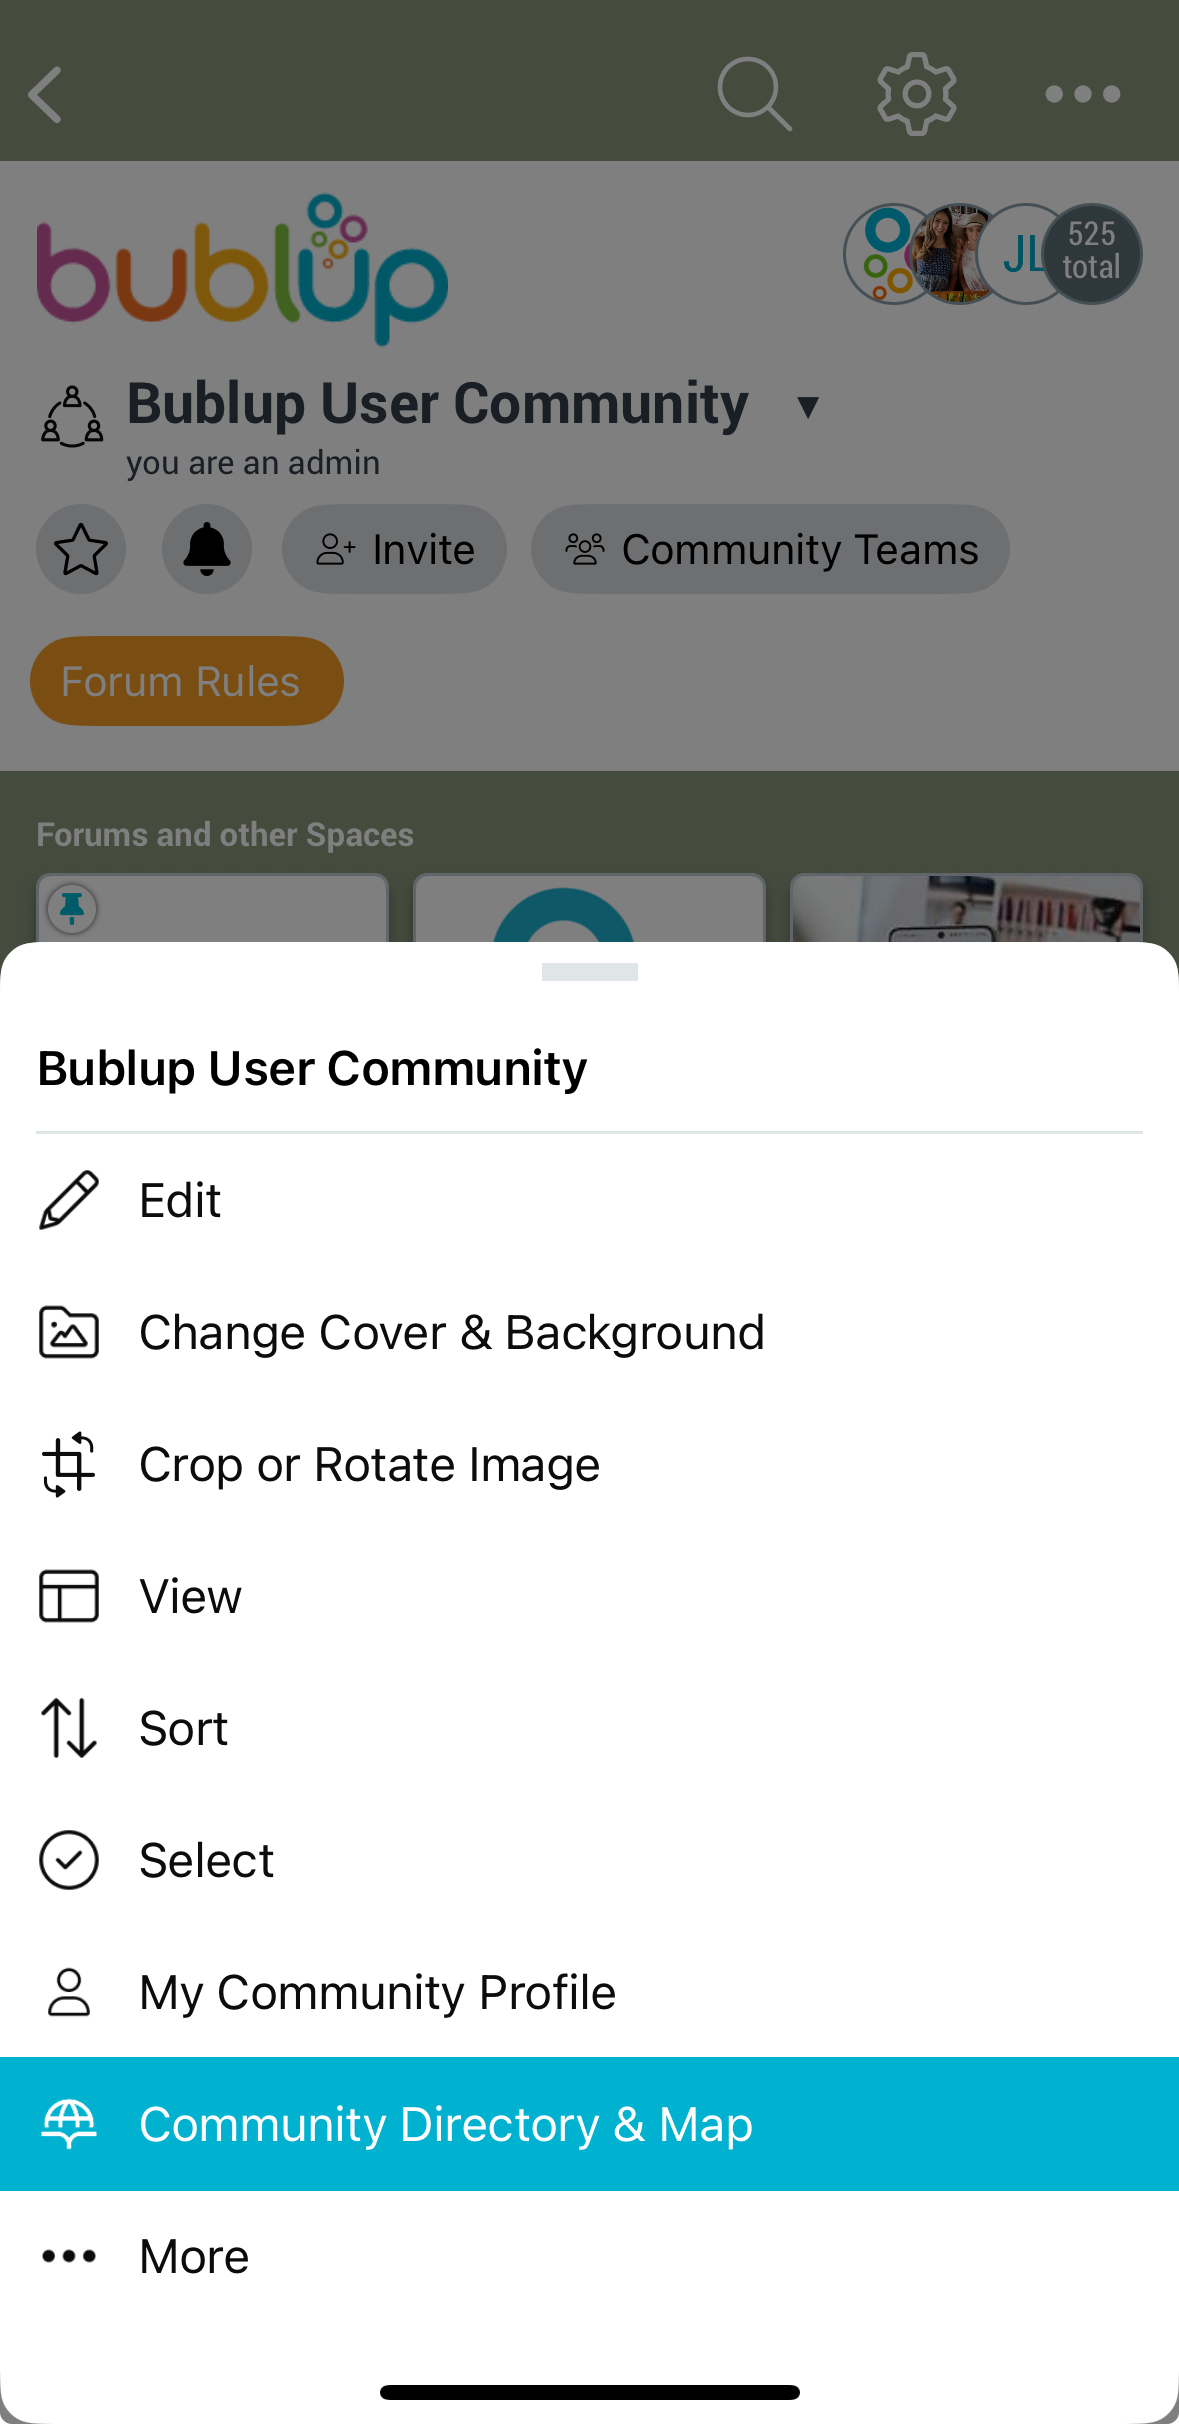
- This will open your community directory & map dashboard.
How It Works
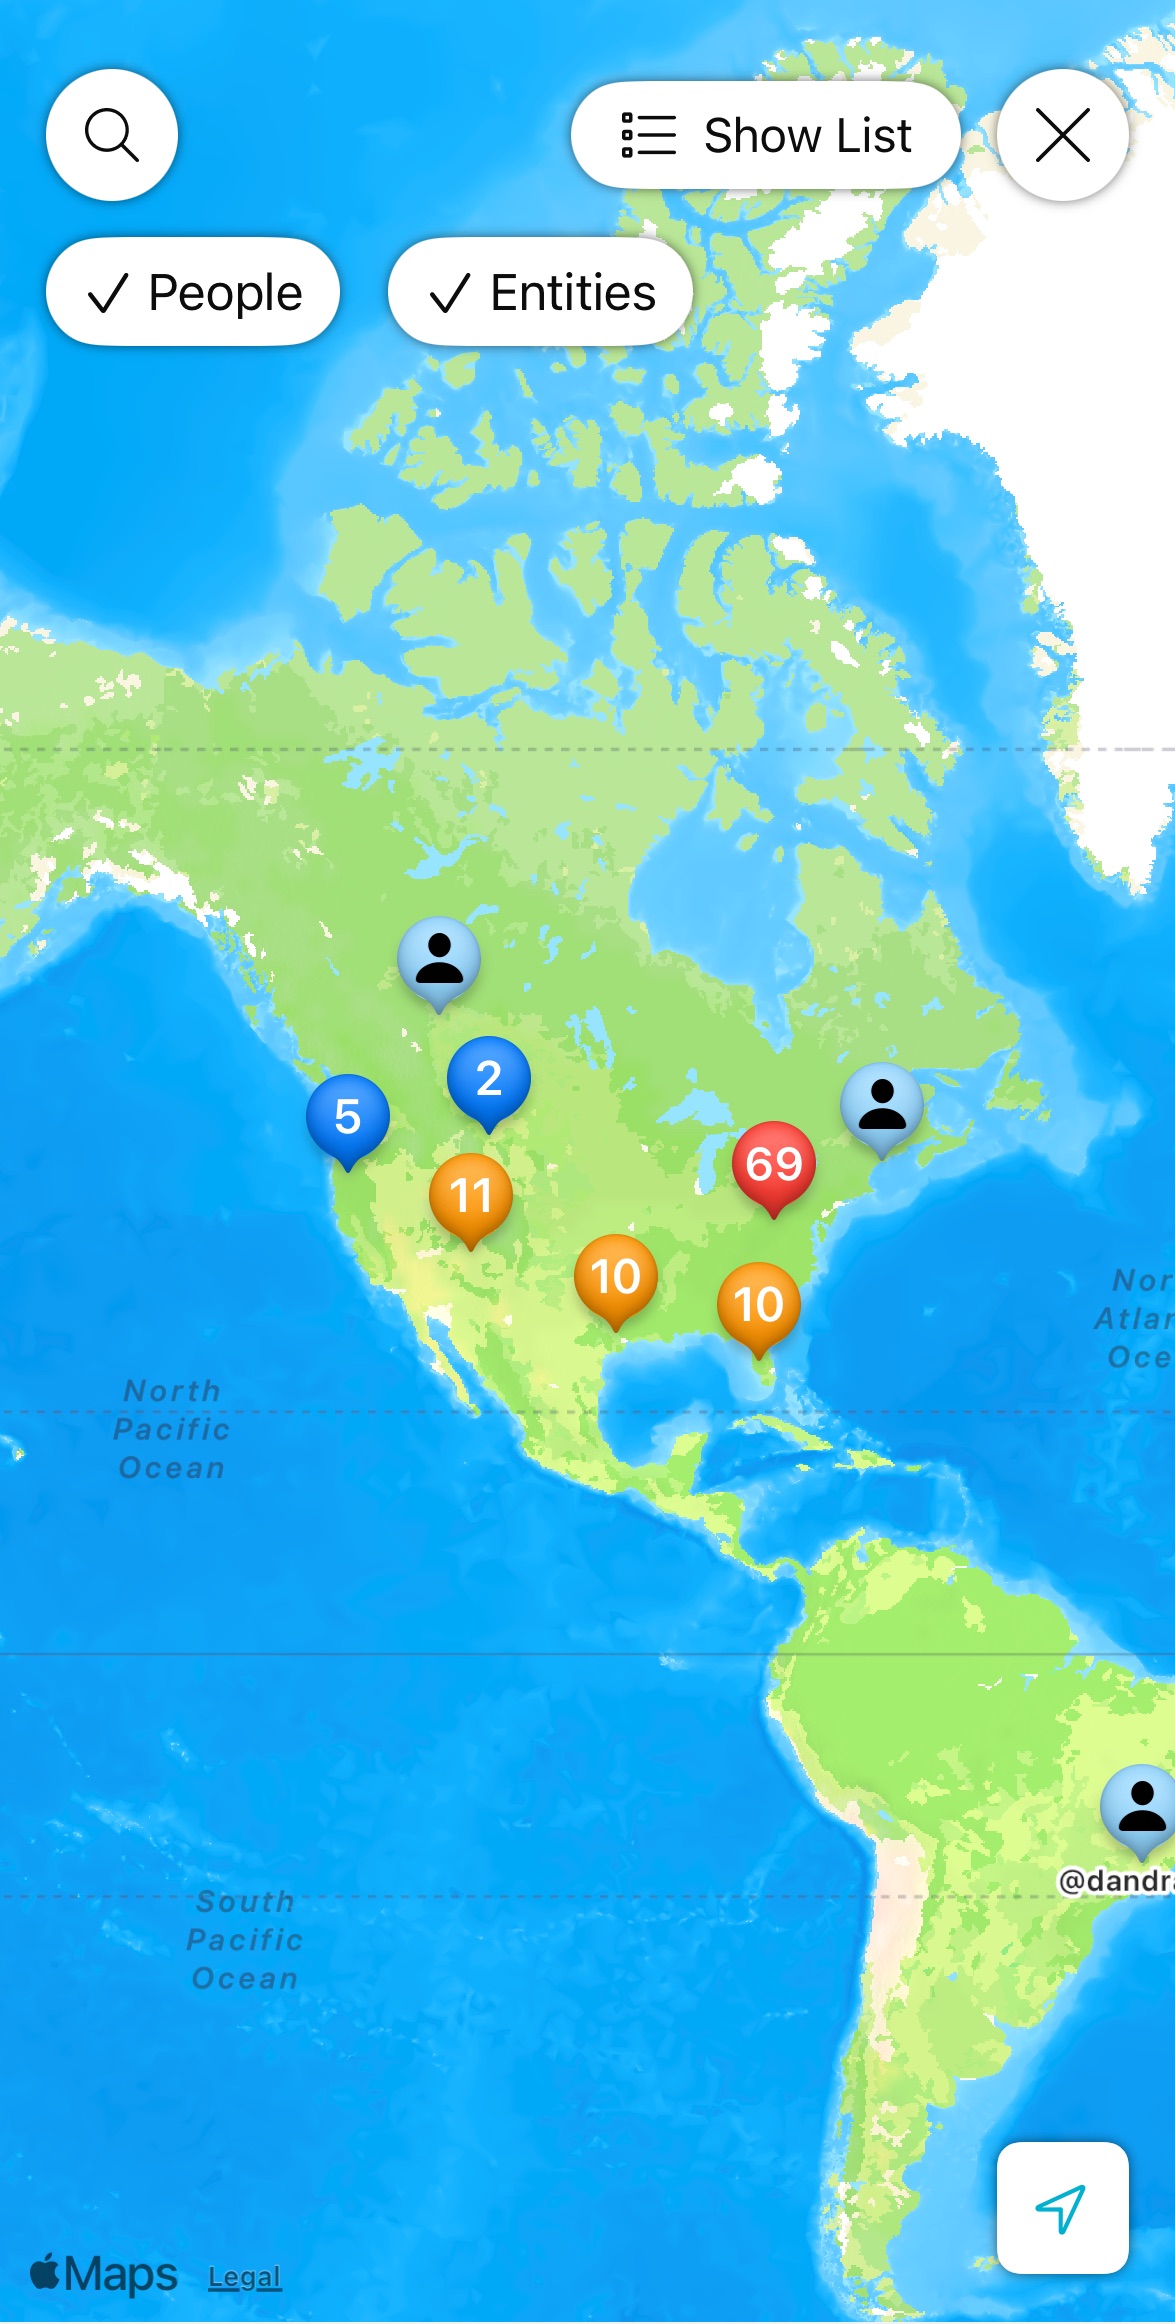
- Zoom & Pan: Use your mouse or touch gestures to explore different areas of the map.
- Member Clusters: In areas with many members, pins will group together. Click on a cluster to zoom in and see individual members.
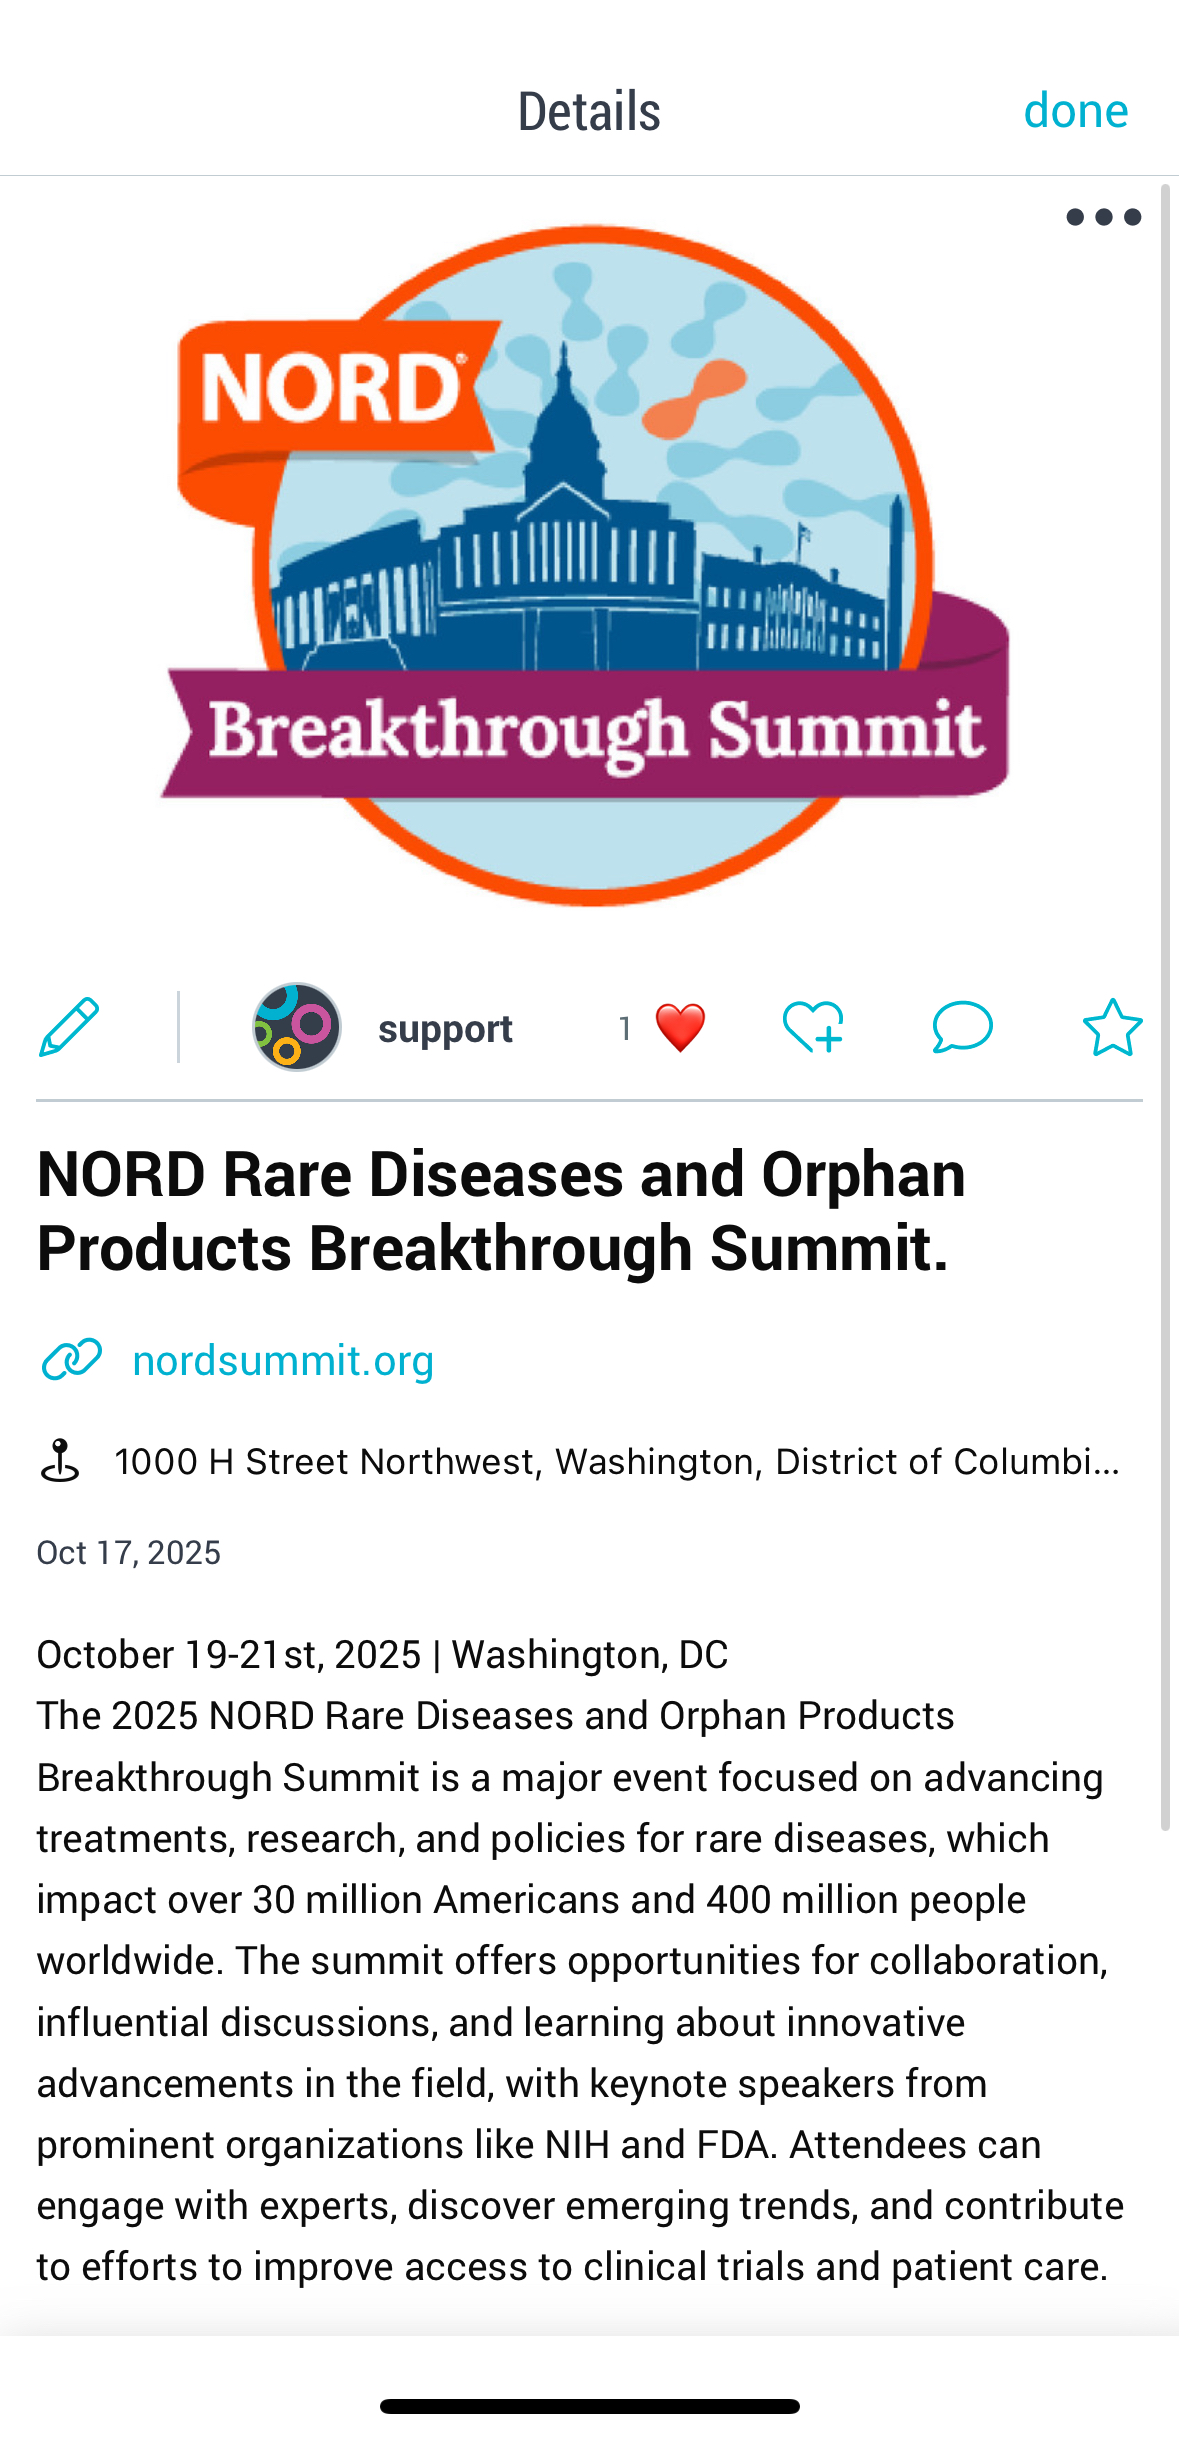
- Item Location Tags: Any items with location information set will also appear on the map.
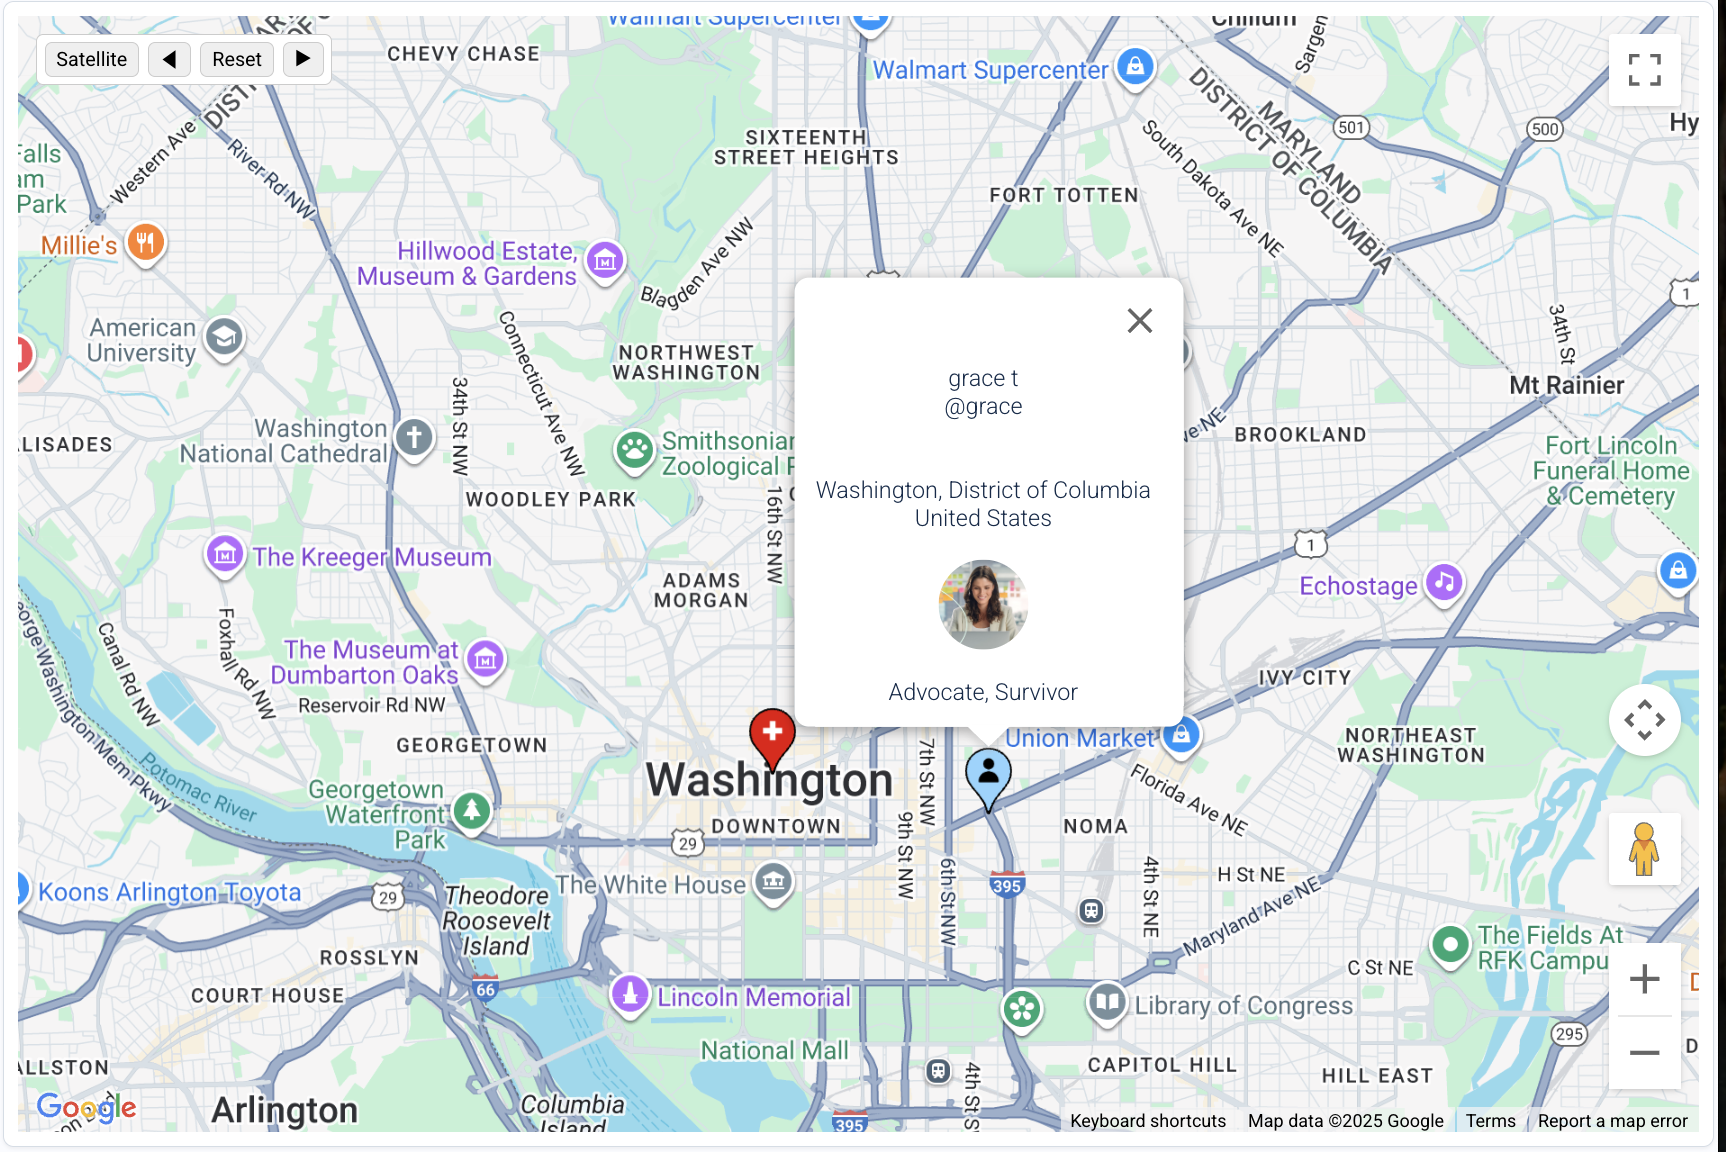
- Click on Pins: Tapping a location pin reveals either a member’s community profile or an entity’s location information.

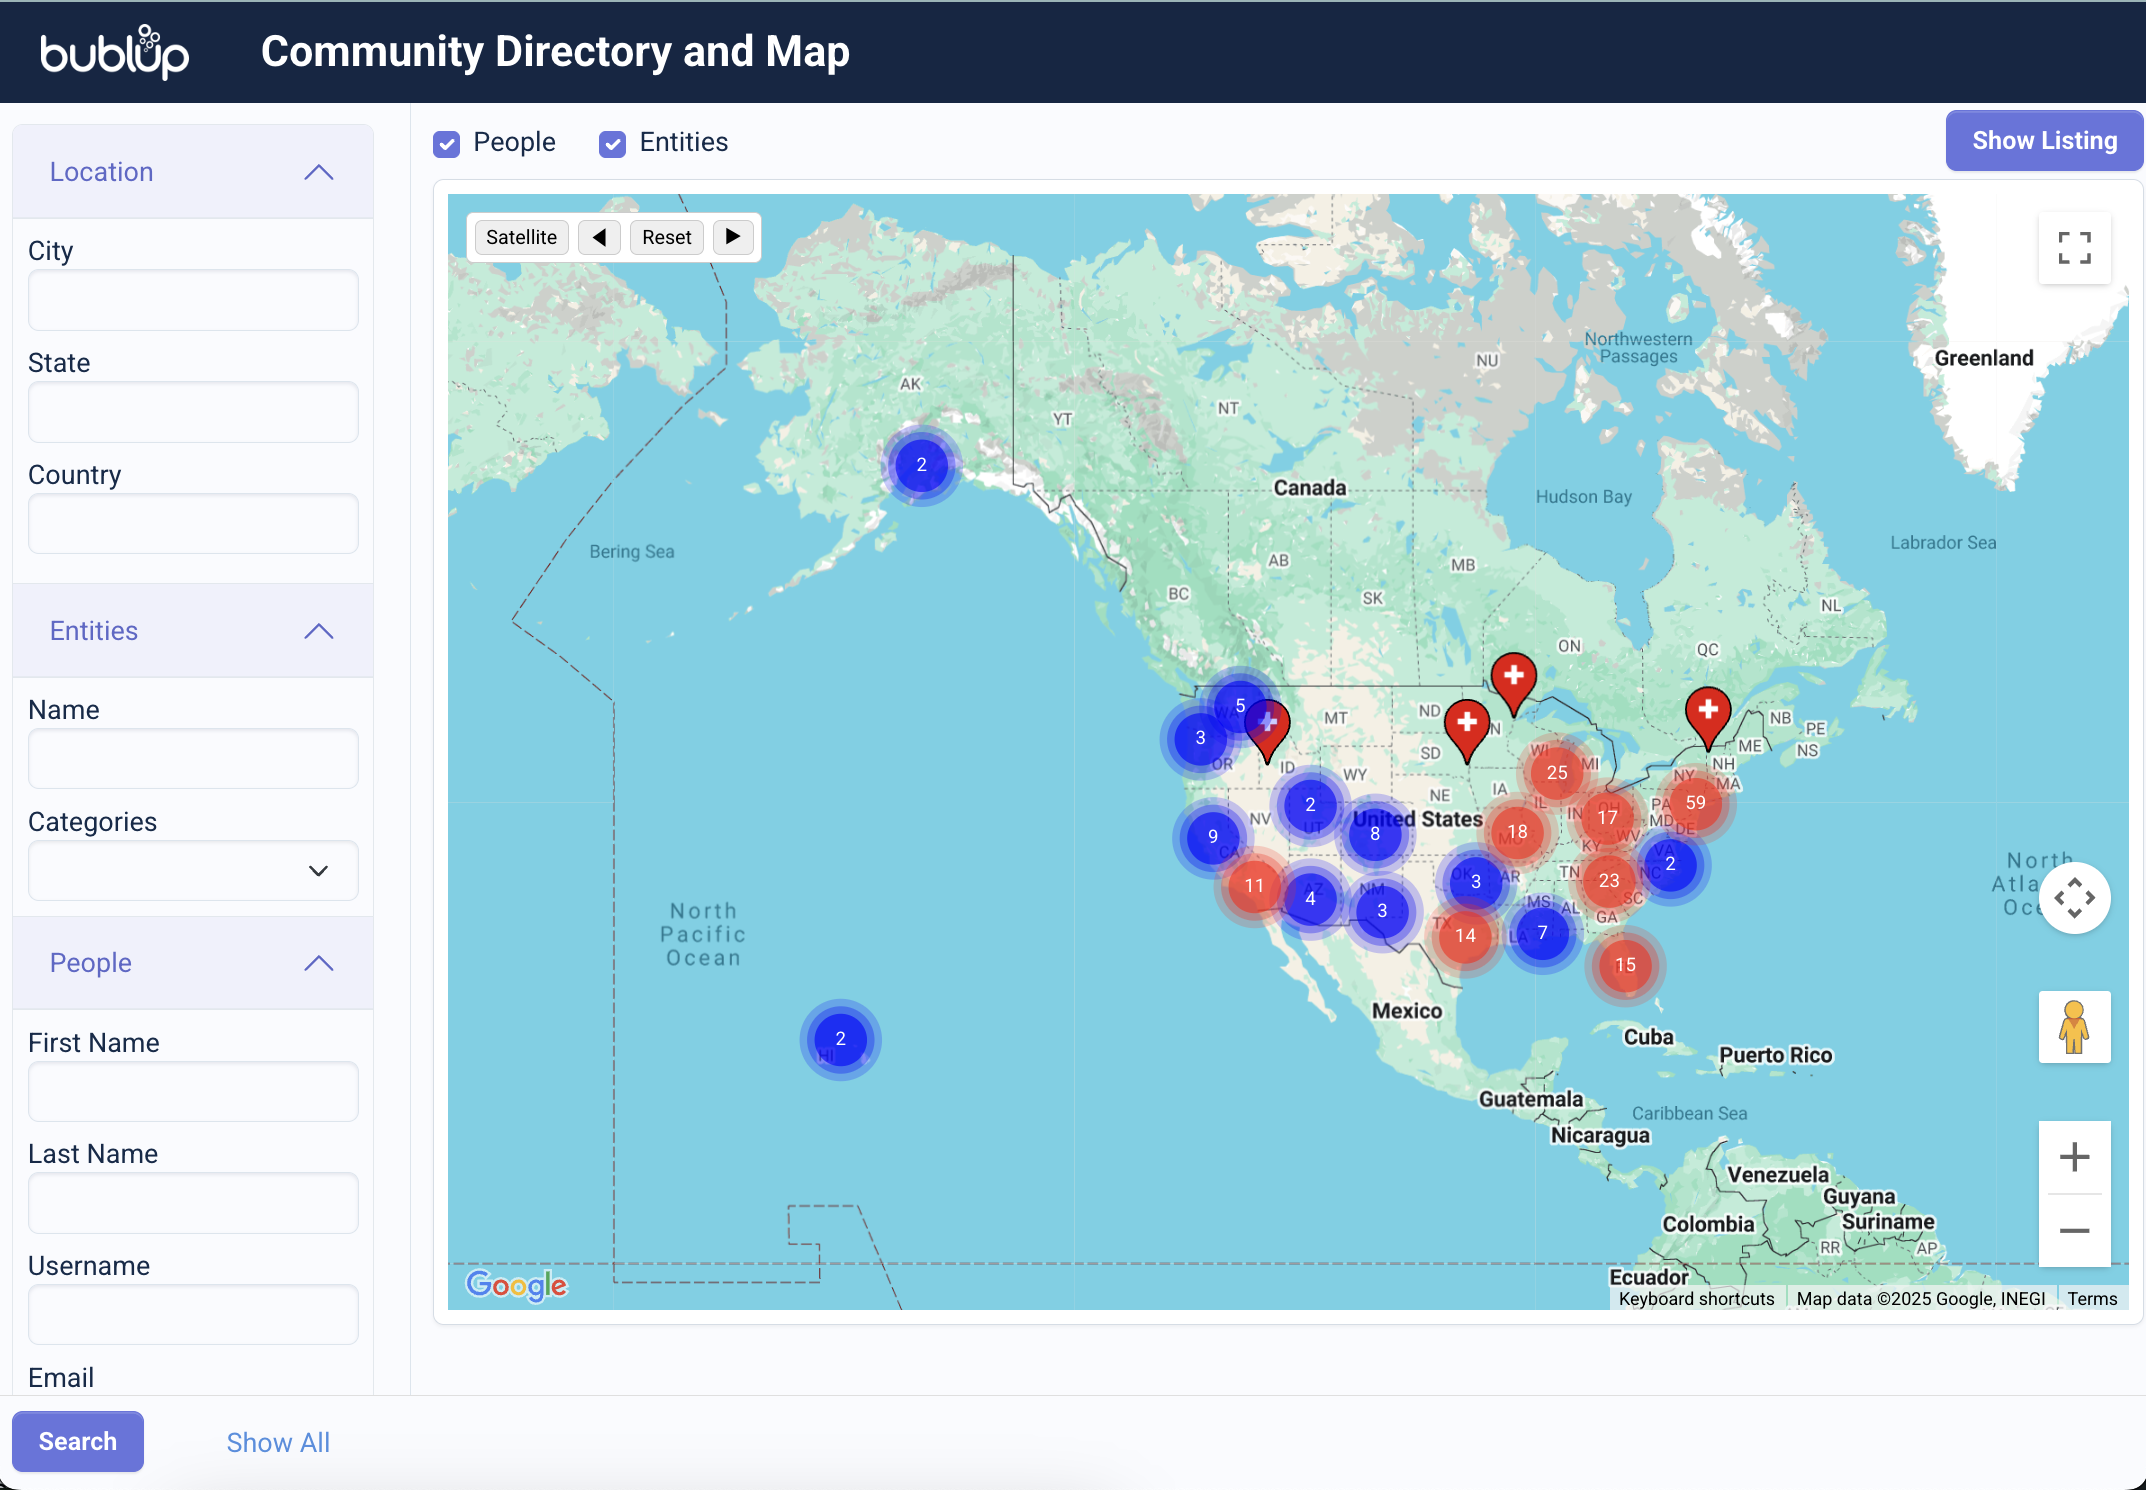
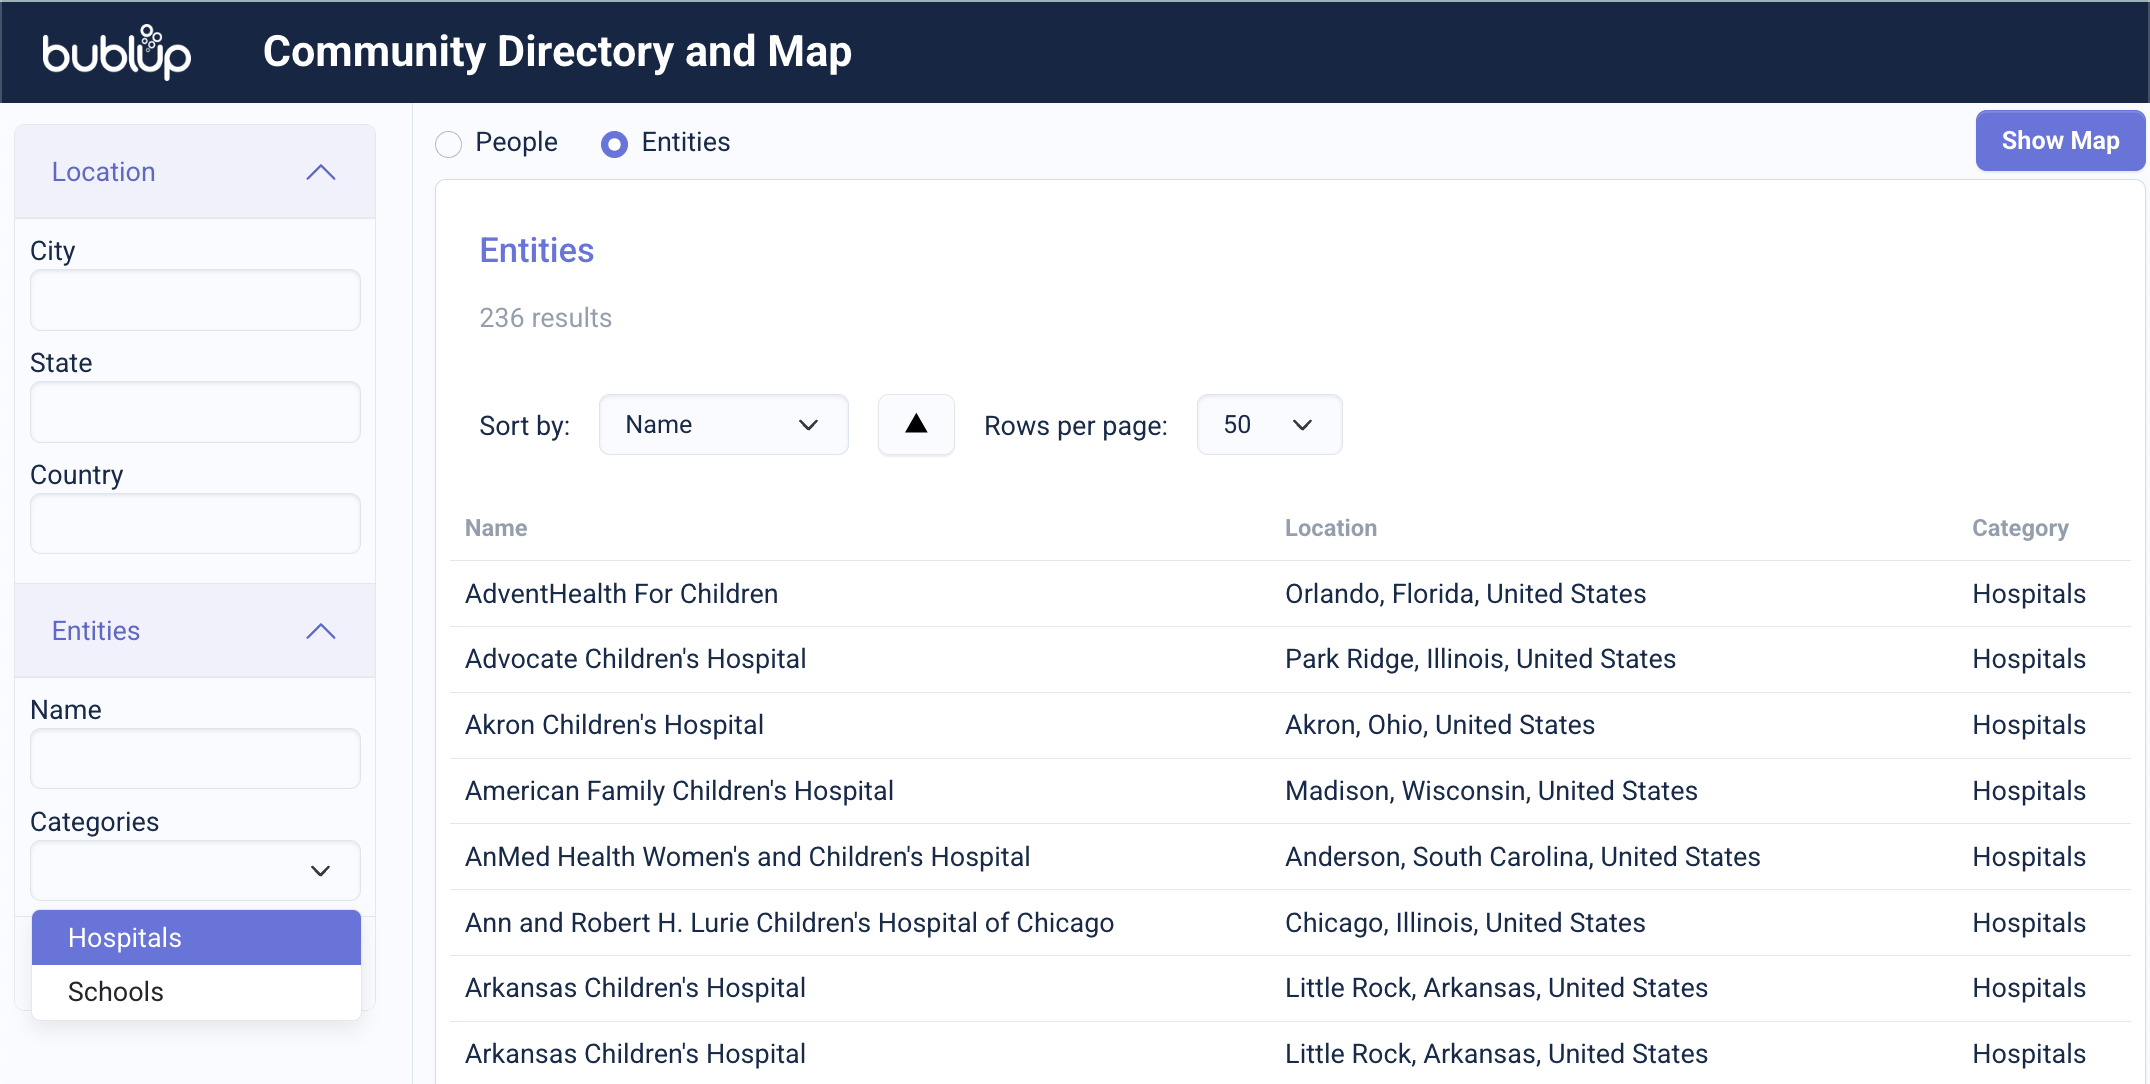
How to Search the Directory & Map
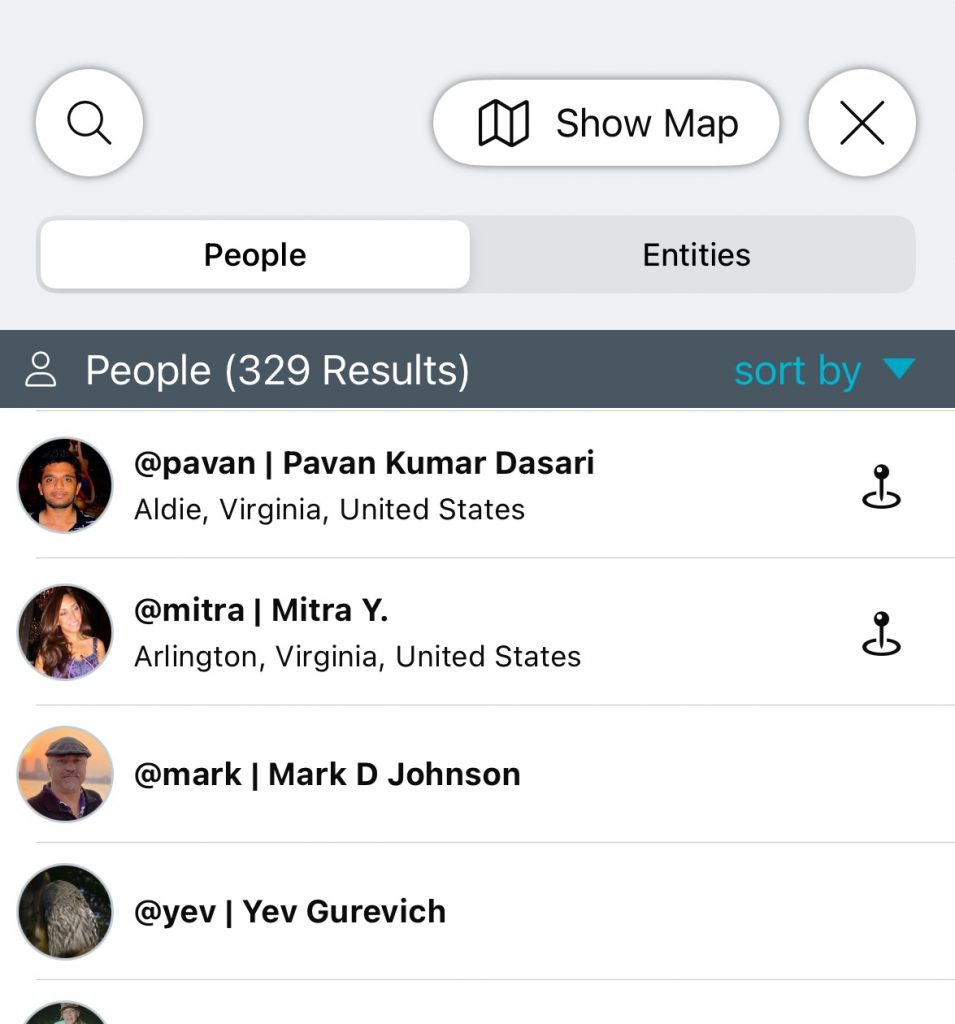
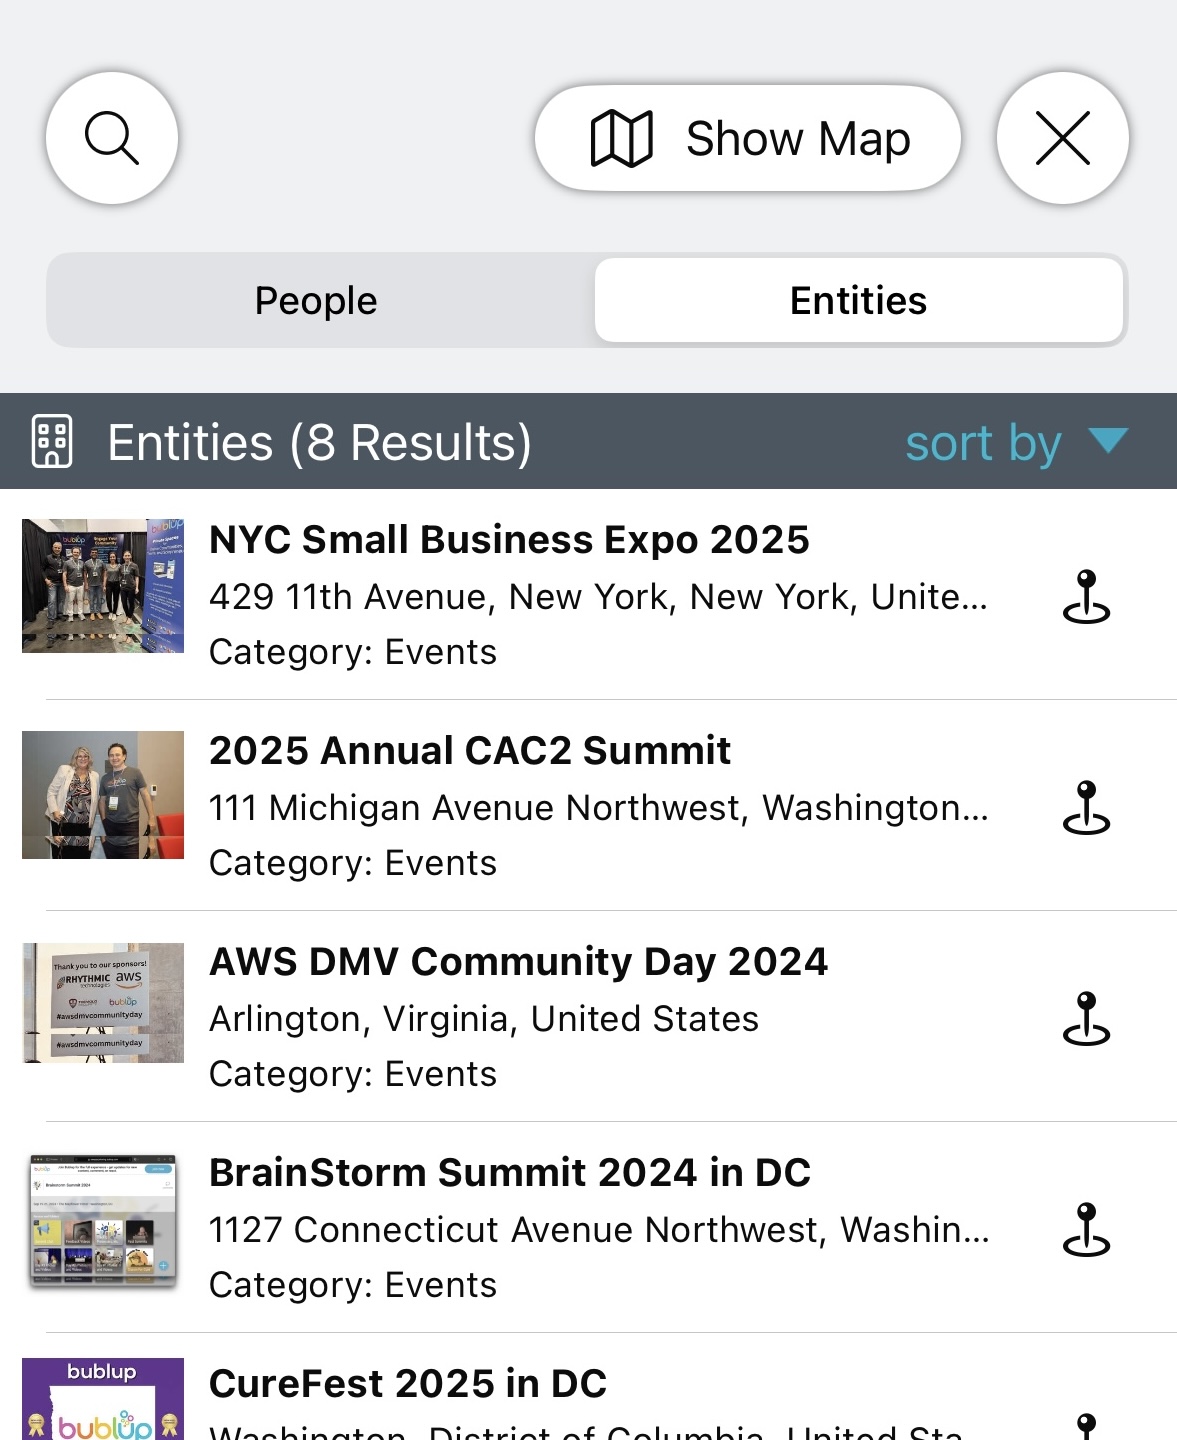
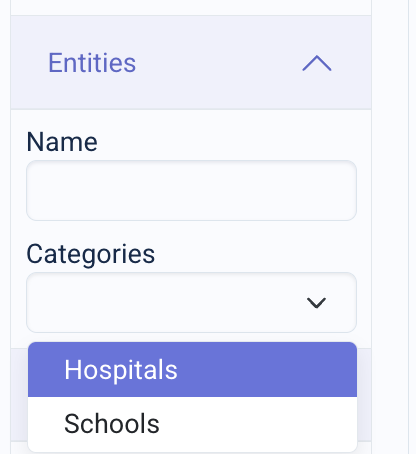
You can search based on a location, entity category, or person. In directory view, choose between searching “people” or “entities”. In map view, enable “people”, “entities” or both.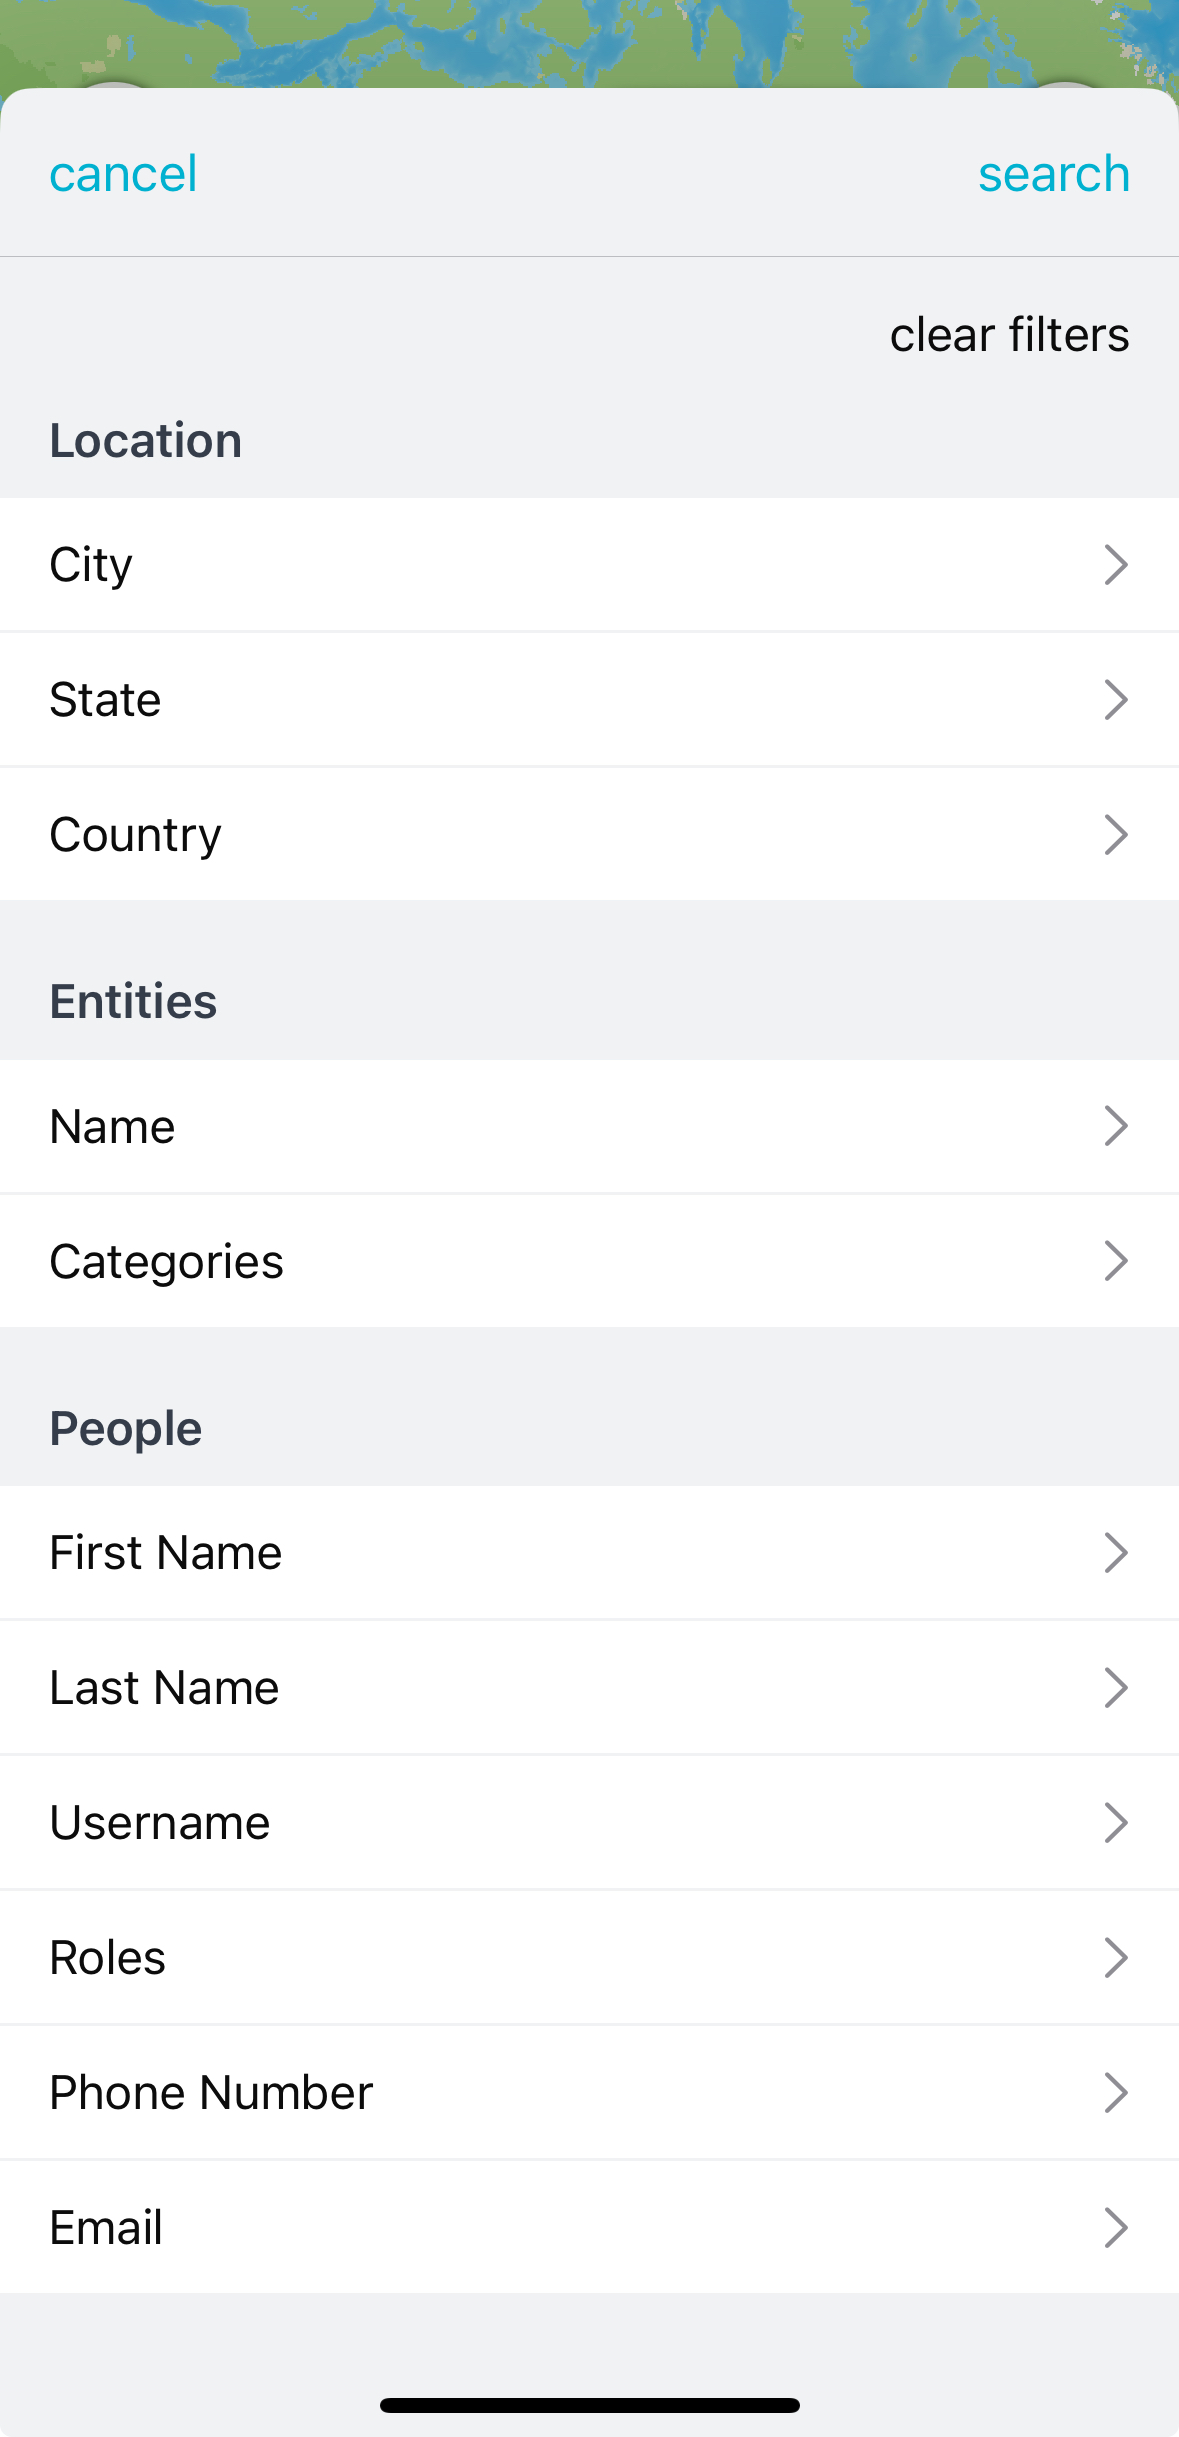
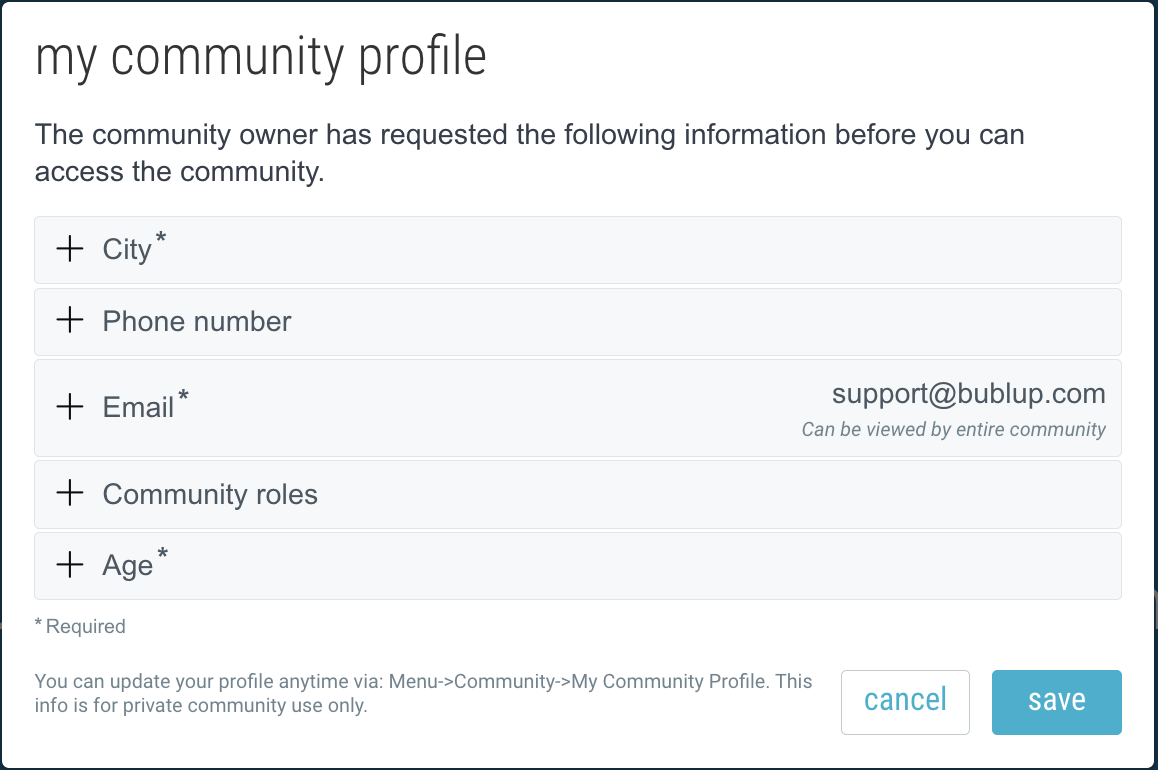
How to Share Your Location
In order to share your location, Community admins must first follow these steps to turn on the community profiles feature.
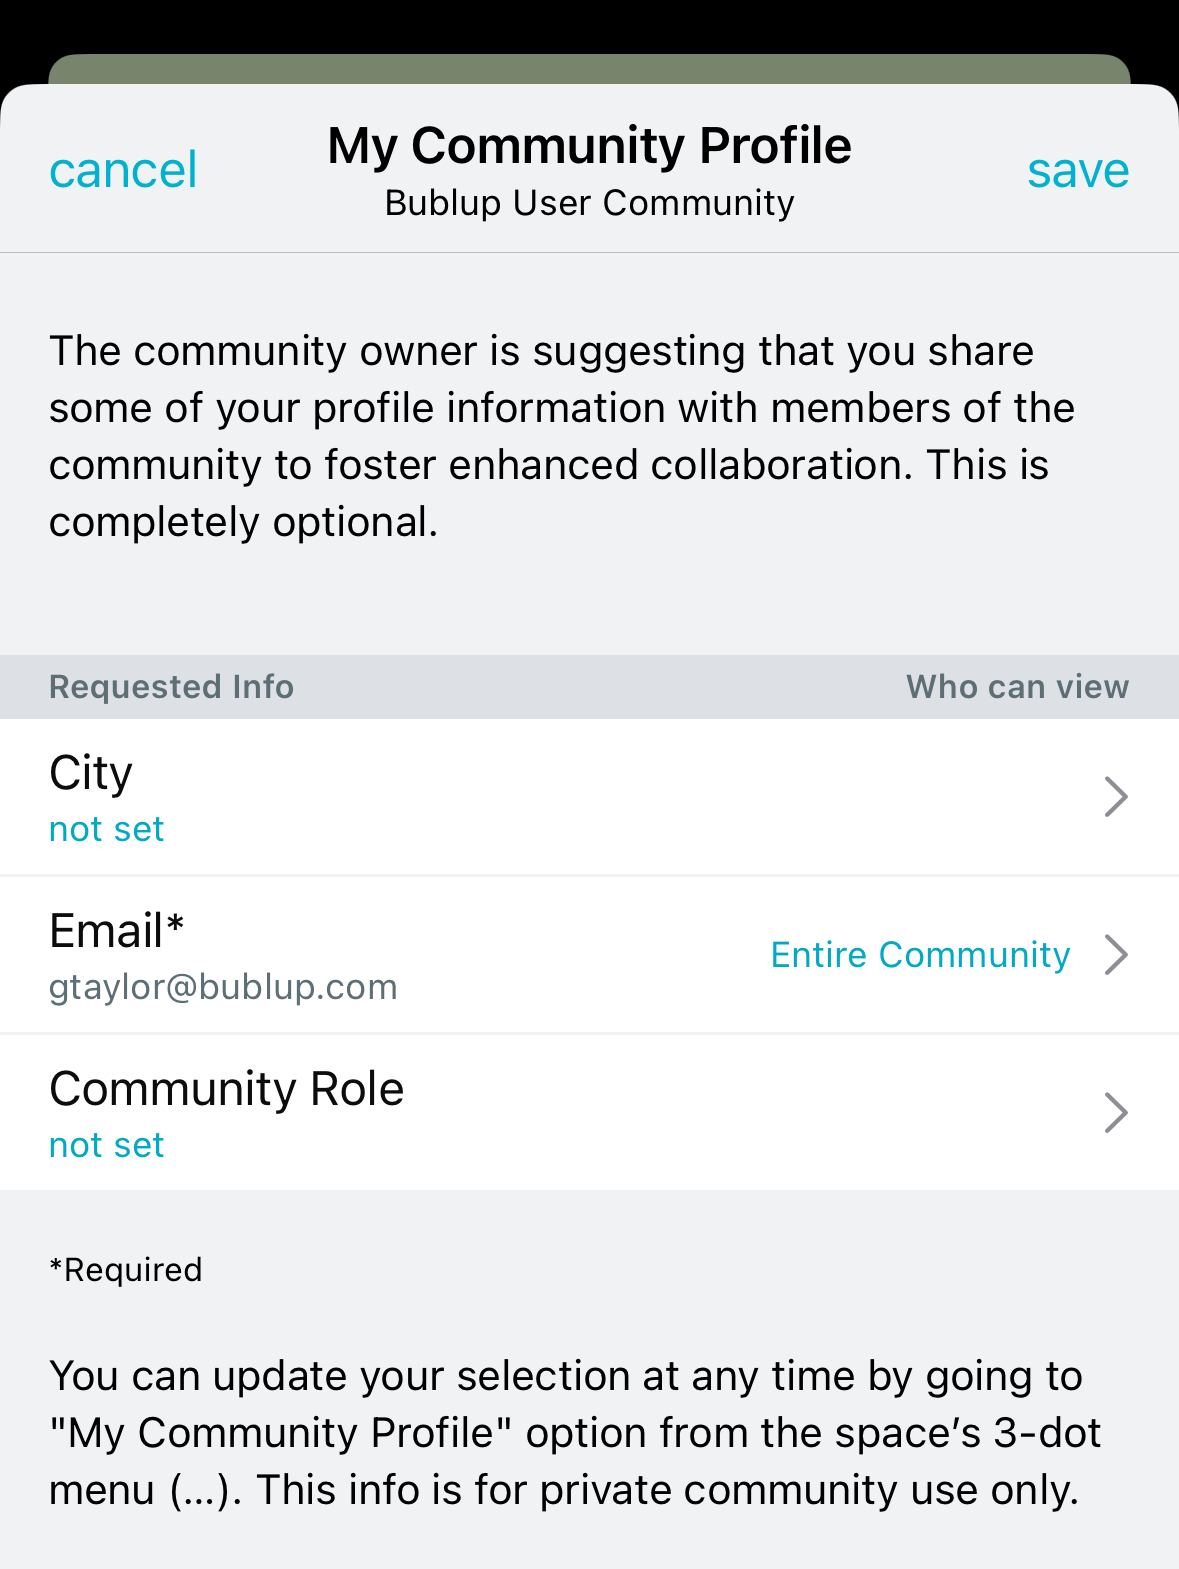
To appear on the map, open your Community and go to ••• menu→“My Community Profile”. Then add your city of residence.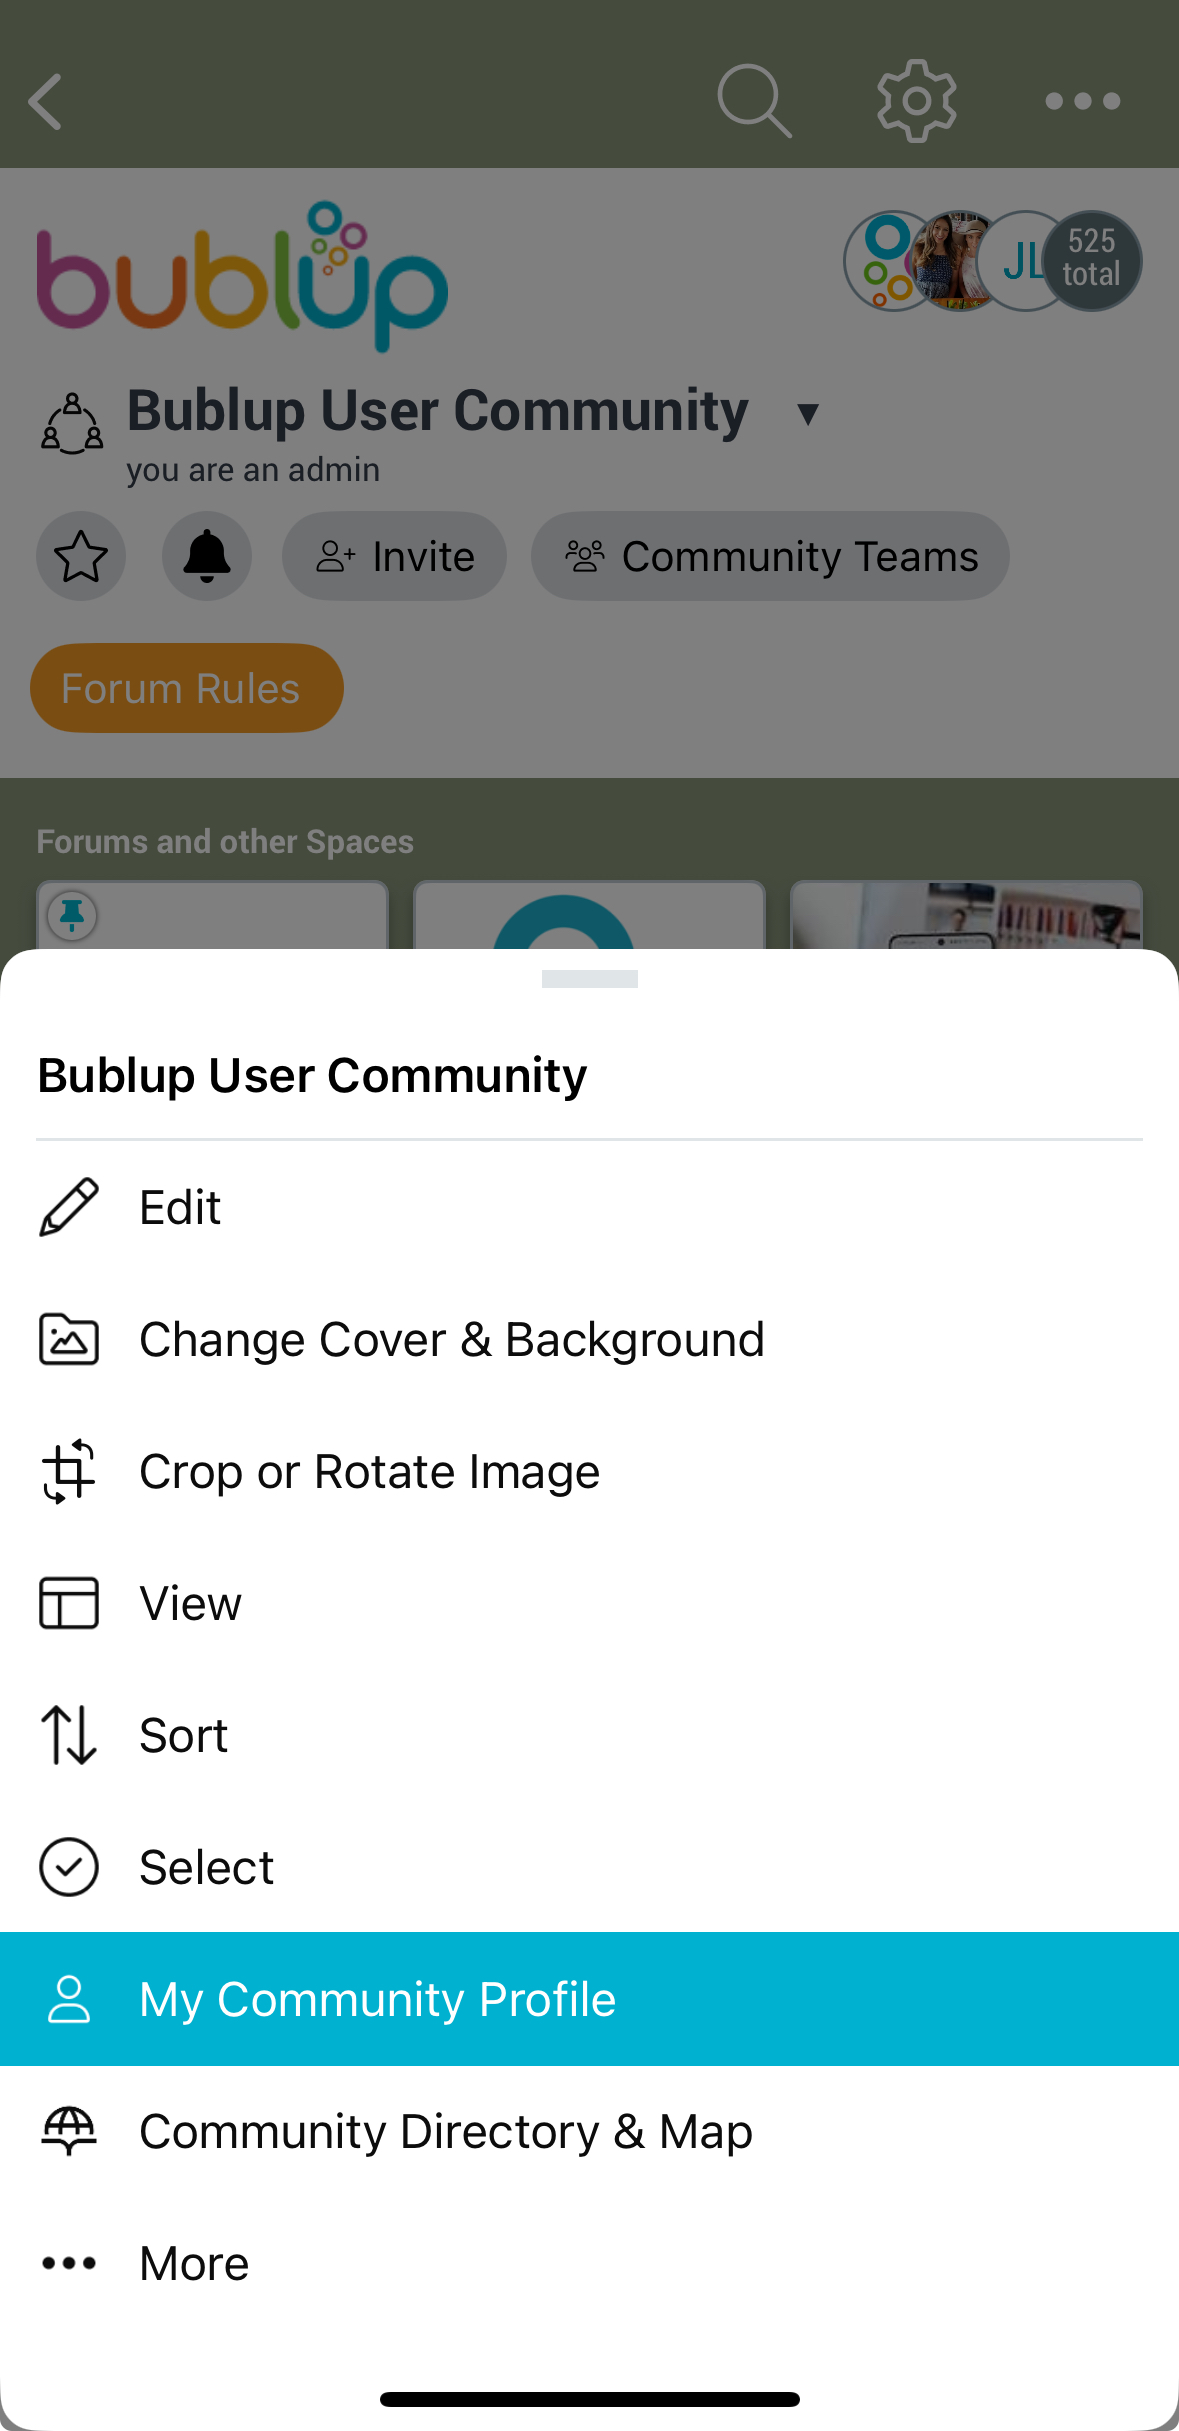
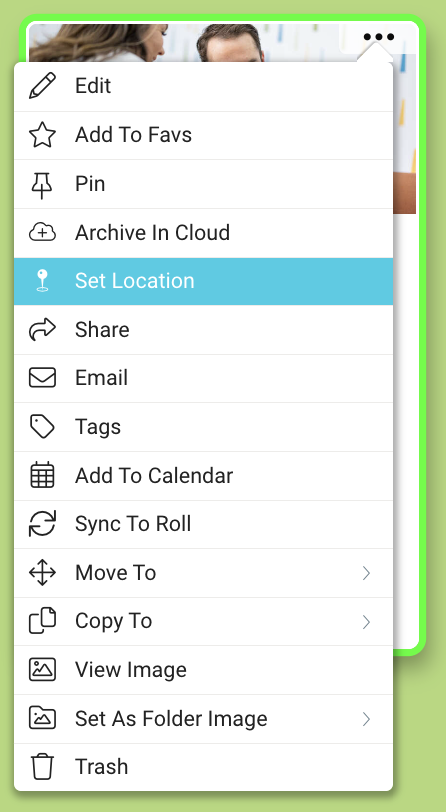
How to Add Location Info to Items
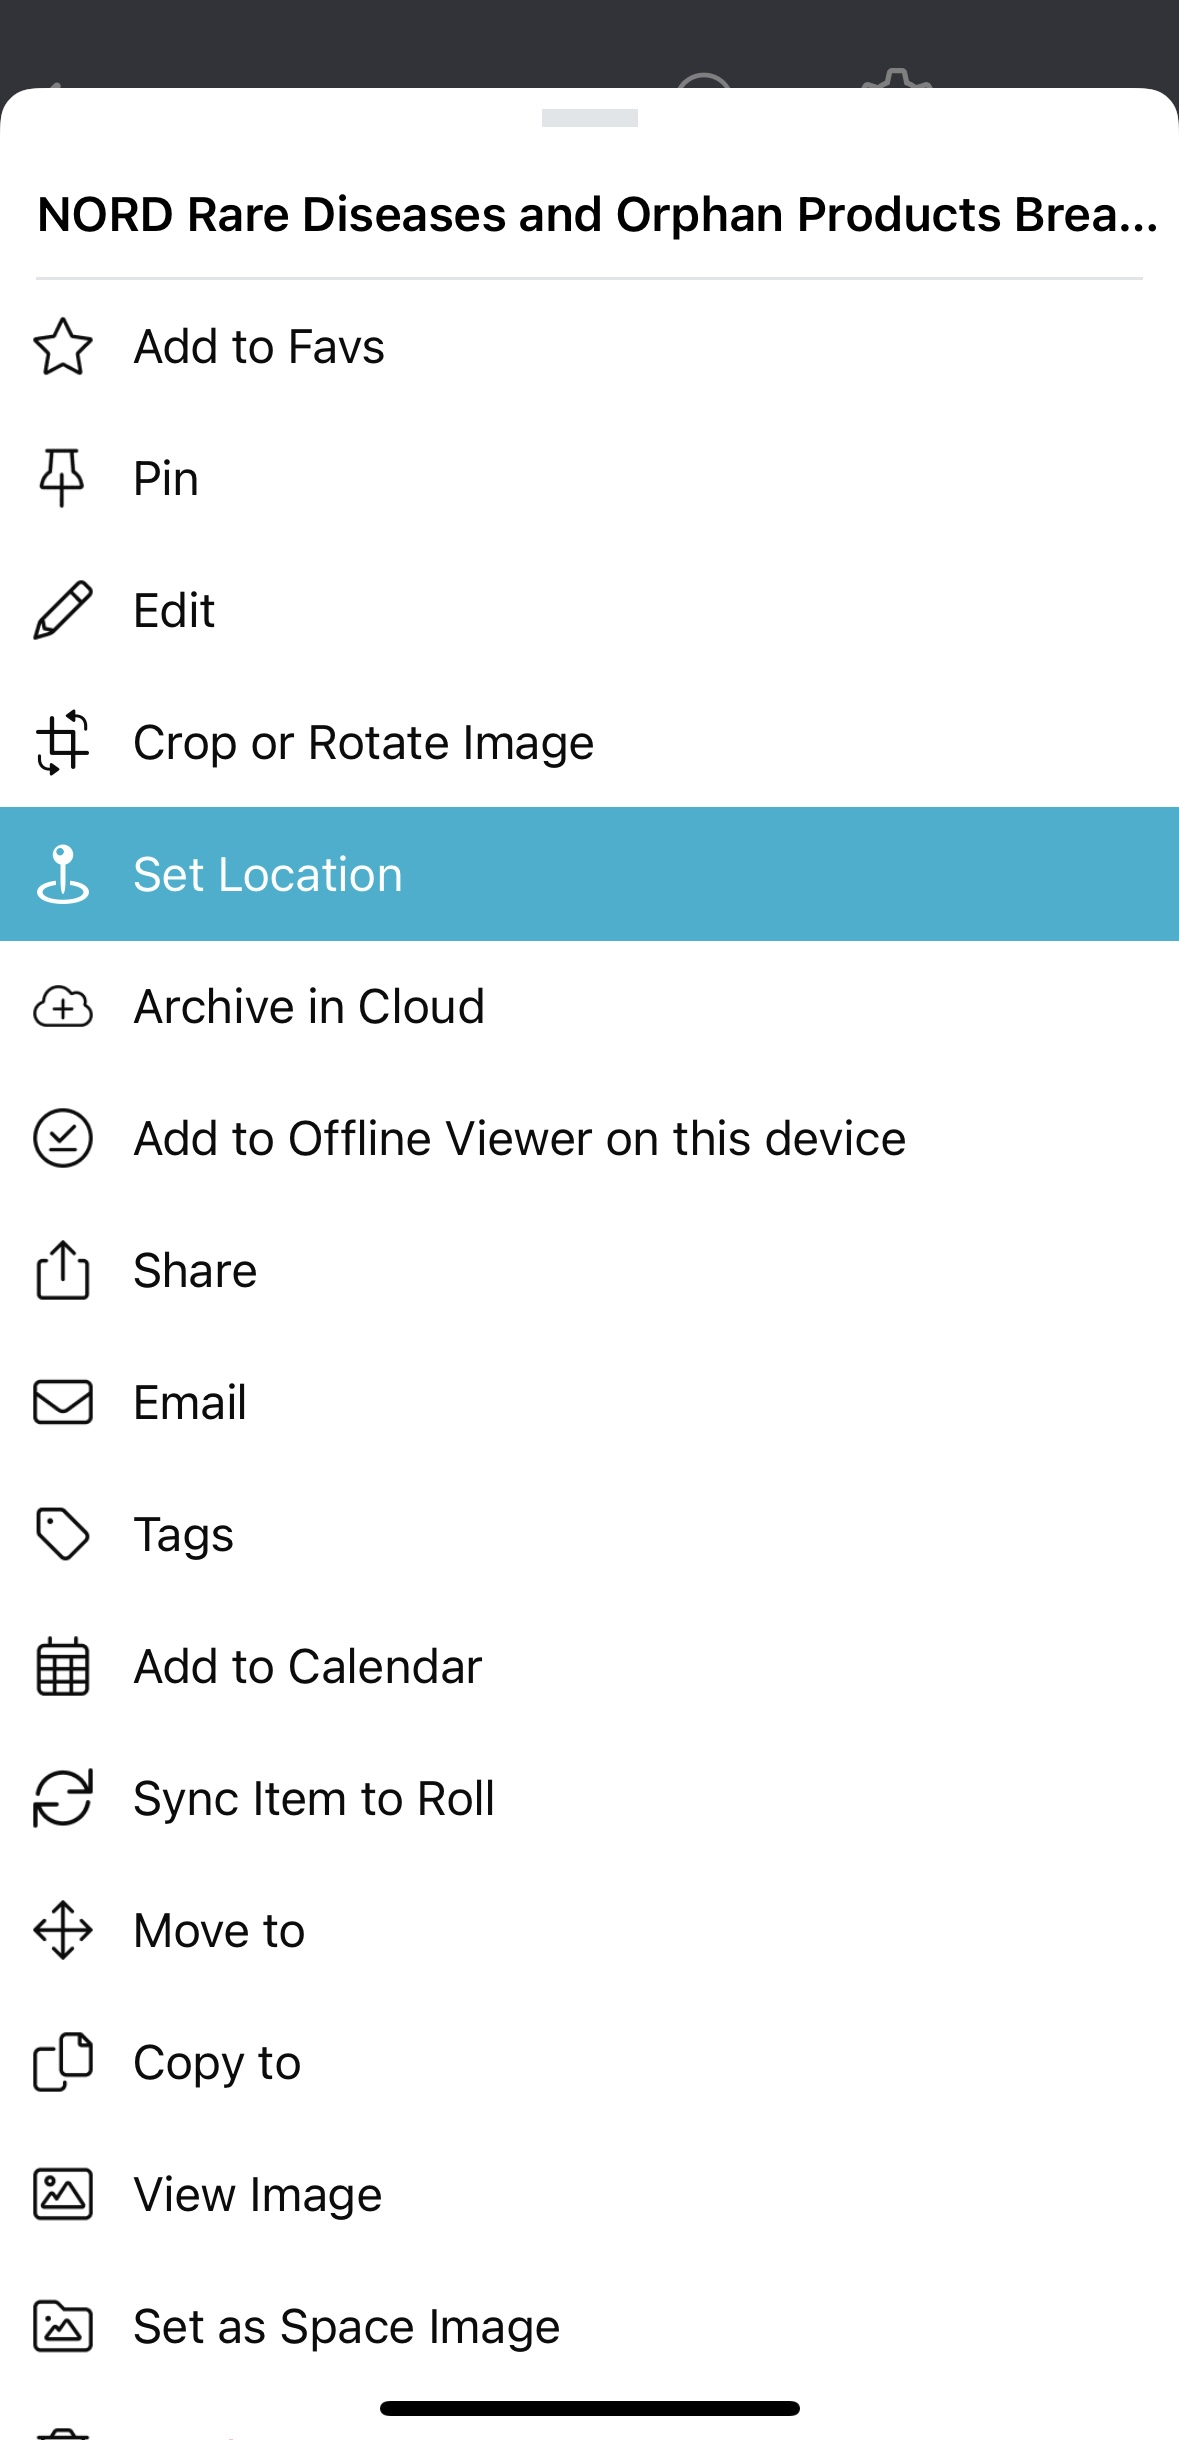
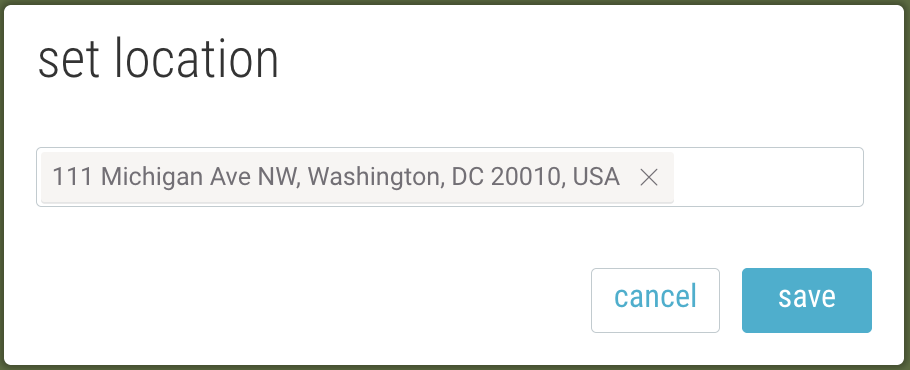
- Go to the item’s 3-dot menu and select “Set Location”.
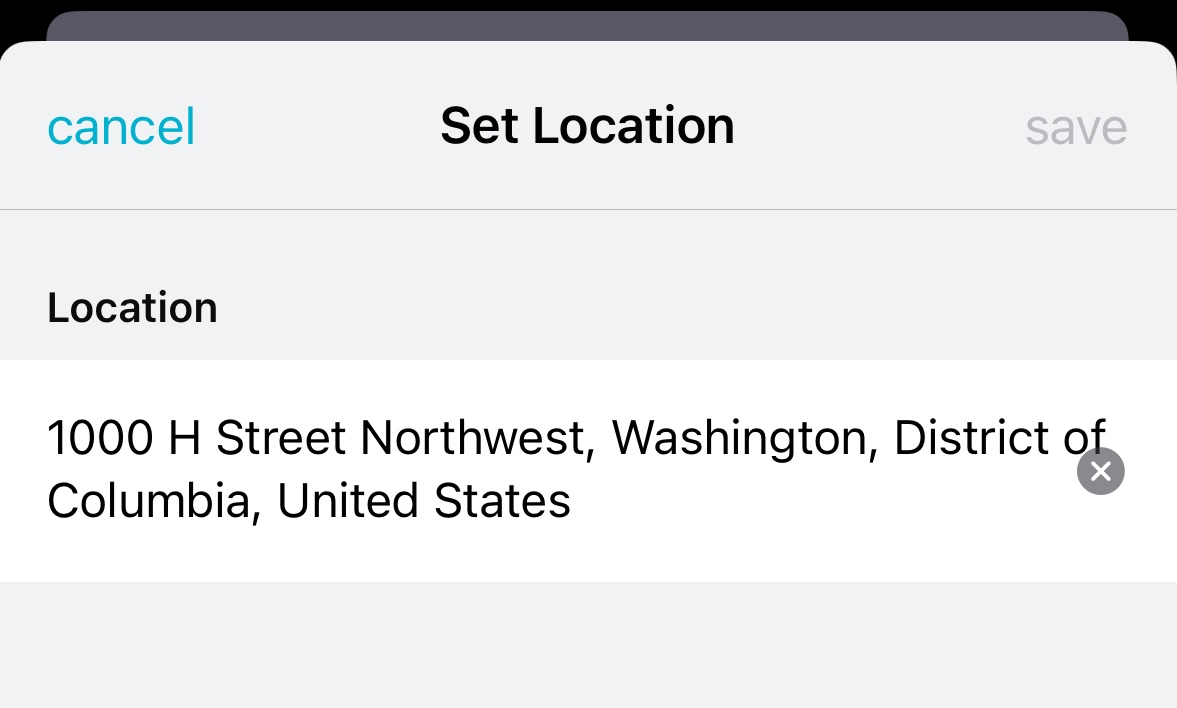
- Type an address and select from the dropdown menu of verified addresses. Then click “save”.
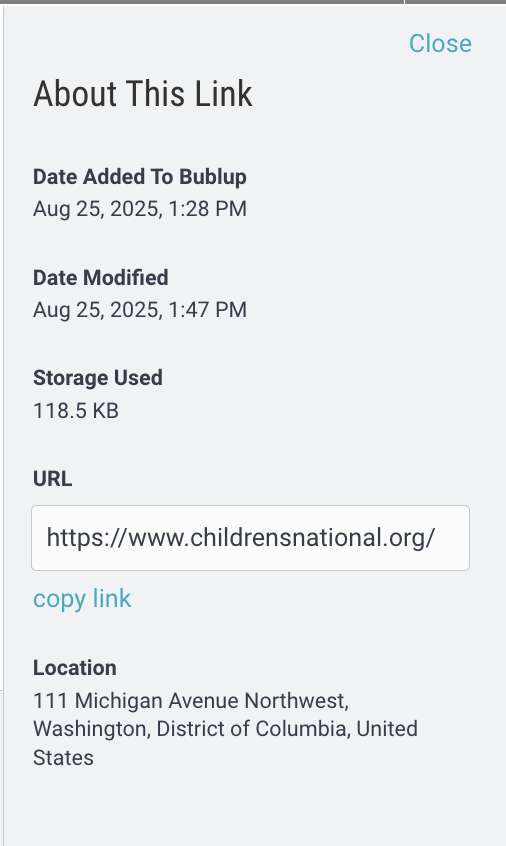
- The item’s location information can be found in item details view under “Location”.
Learn how to bulk import items with location information here.
How to Show Items in the Community Directory & Map
In order to see items and their locations on the Community Map, admins must first enable the feature.
- On desktop, open your Community “settings” (gear icon) and navigate to “Community Map Categories”.

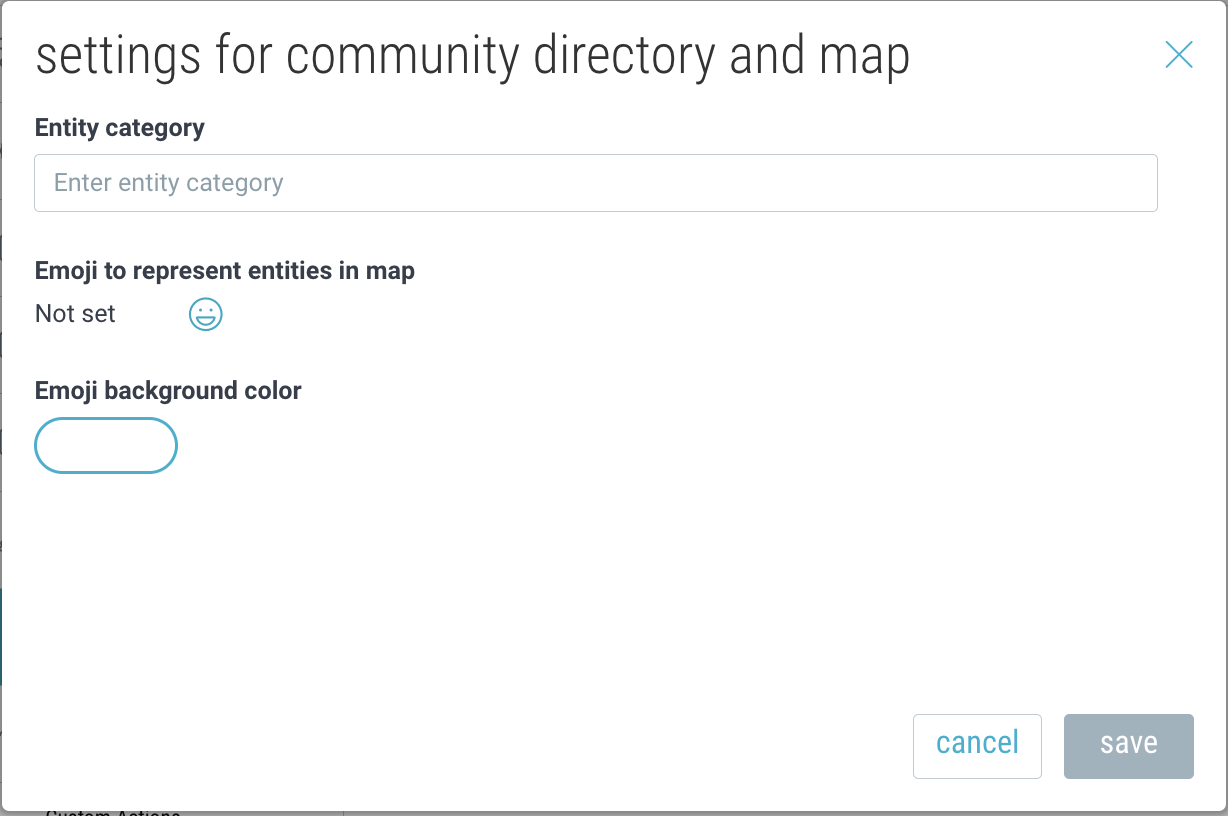
- Click “add map category”. Then name it and optionally assign an emoji and background color.
You can create and save multiple categories within your community.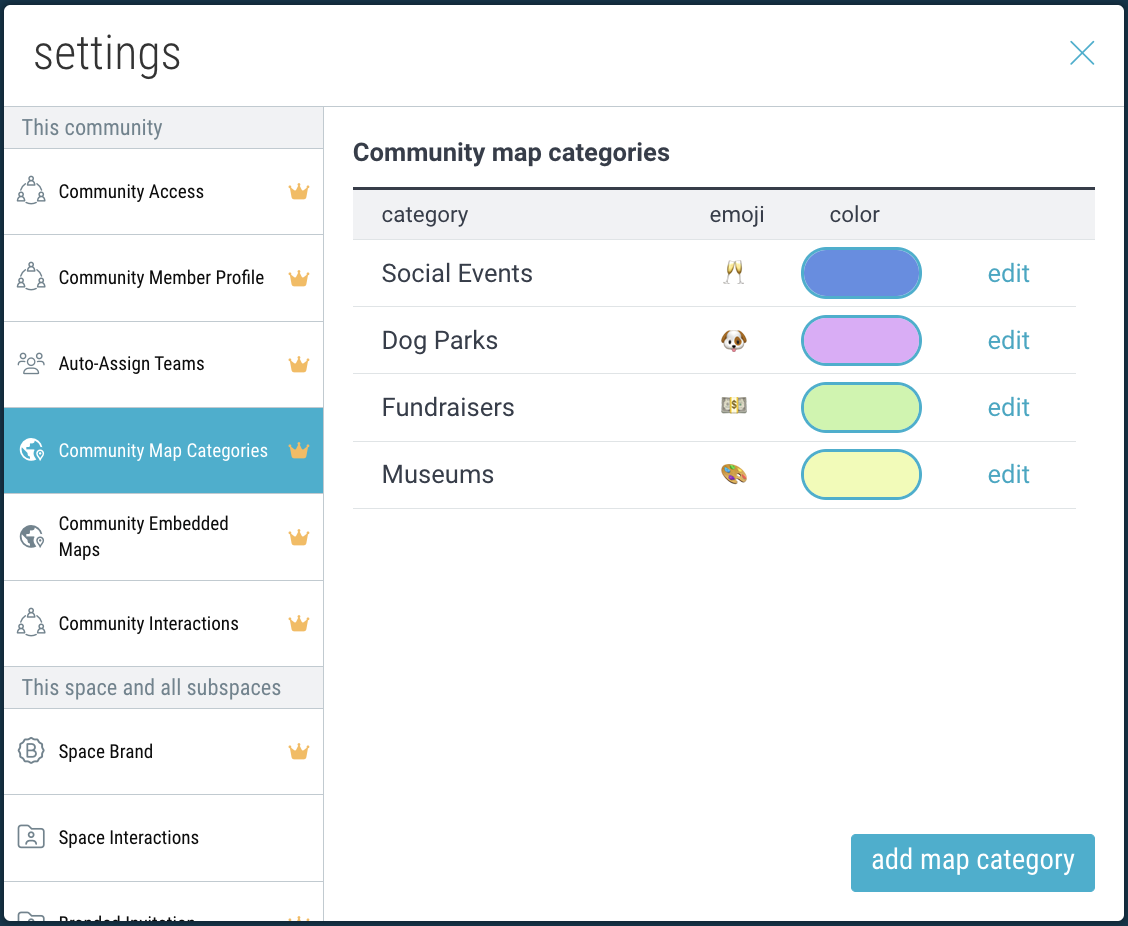
- Now, navigate to a specific subspace of your Community where you have items. Note: This setting needs to be enabled on a per-subspace basis within the Community.
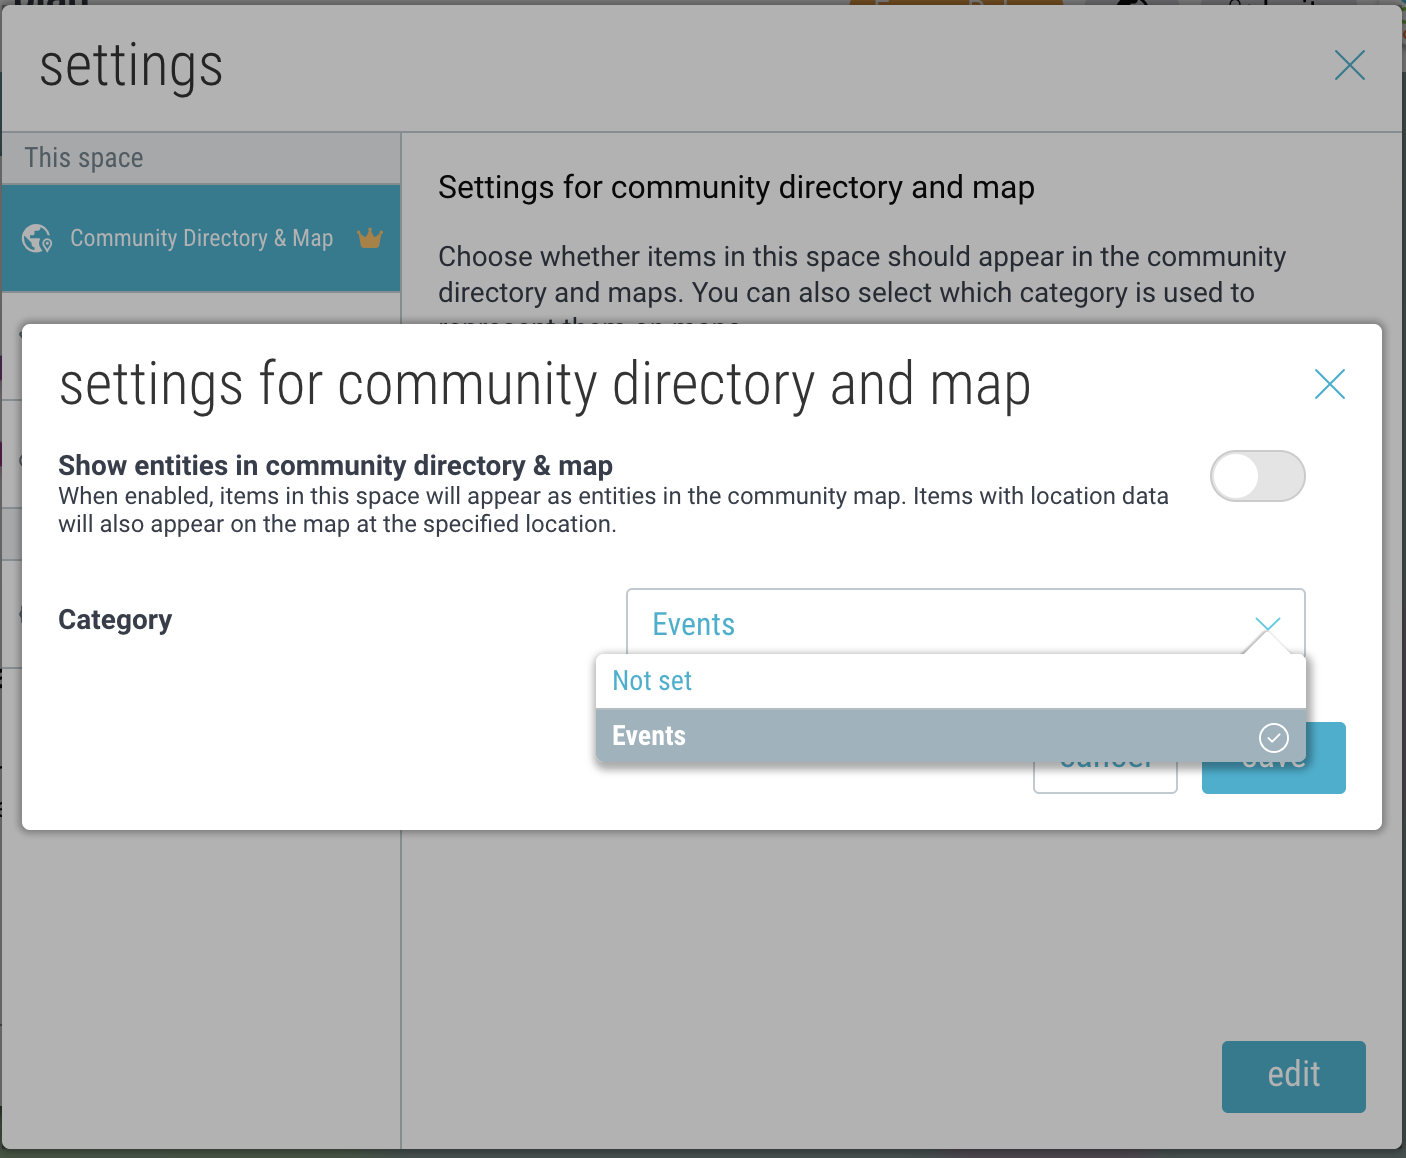
- Go to “settings” → “Community Directory & Map” tab and click “edit”.
- Assign a category name to apply to all the items within this folder.
- These items will now appear in the directory and on the map under the specified category.
Branded Maps
If your community is branded, your directory and map site will also appear branded.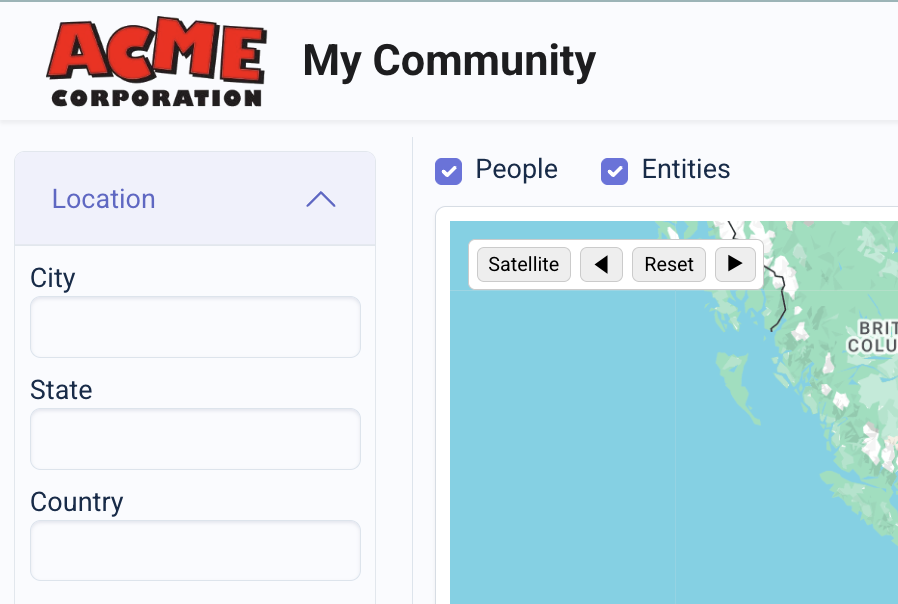
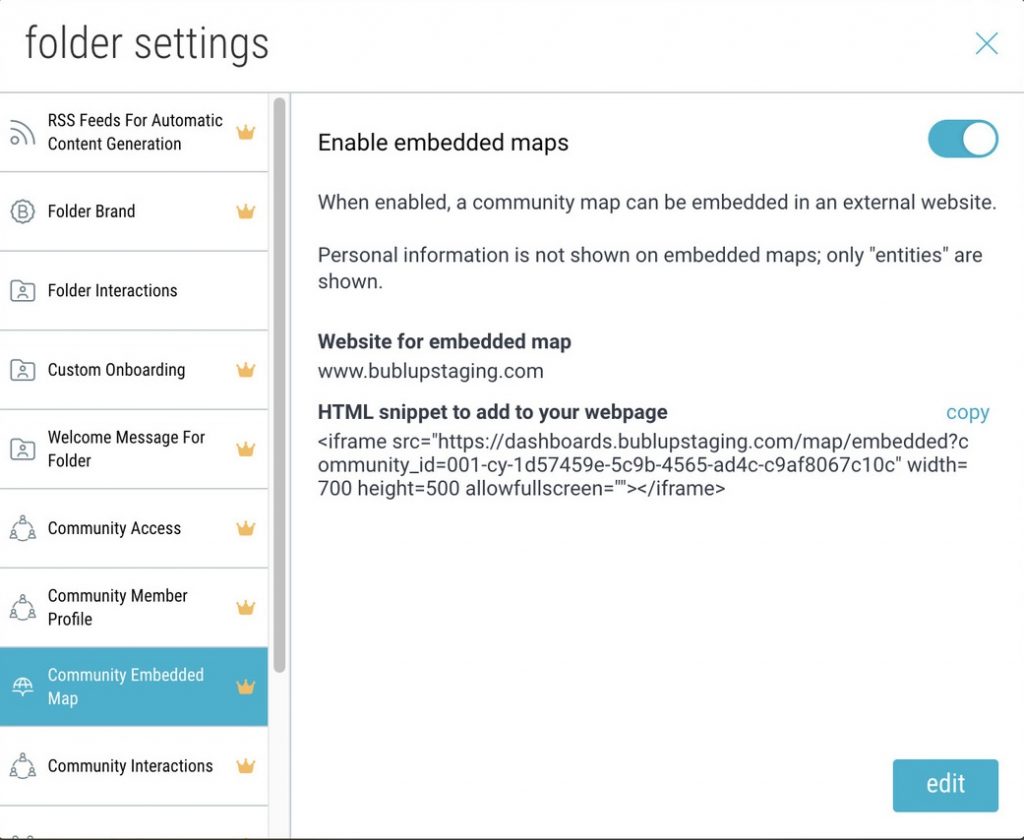
Embedded Maps
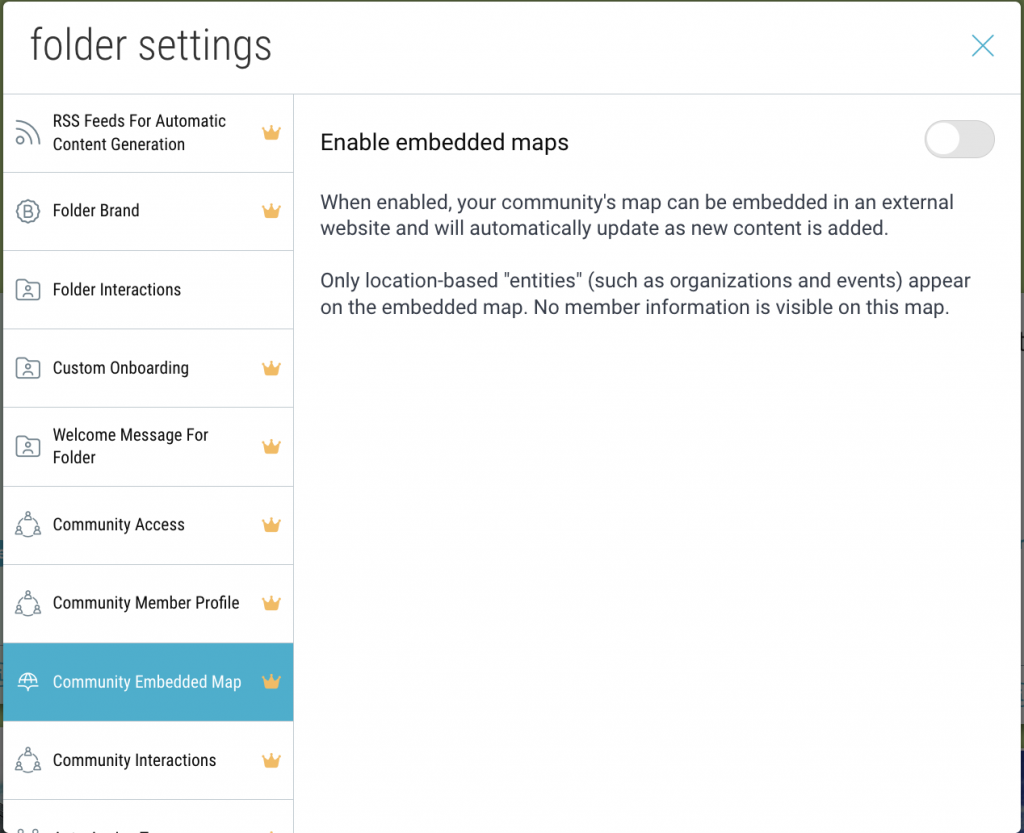
Add your community map to your website to showcase entities and resources.
- On desktop, open your Community settings (gear icon).
- Navigate to the “Community Embedded Map” tab and click the toggle to enable the feature.
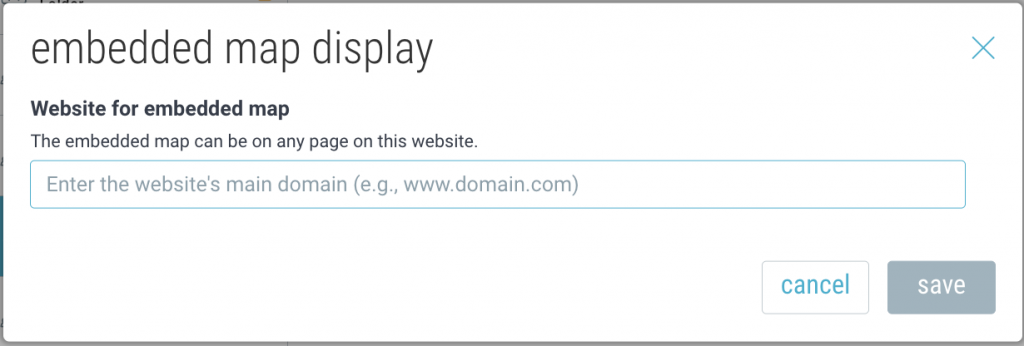
- Enter your website url.
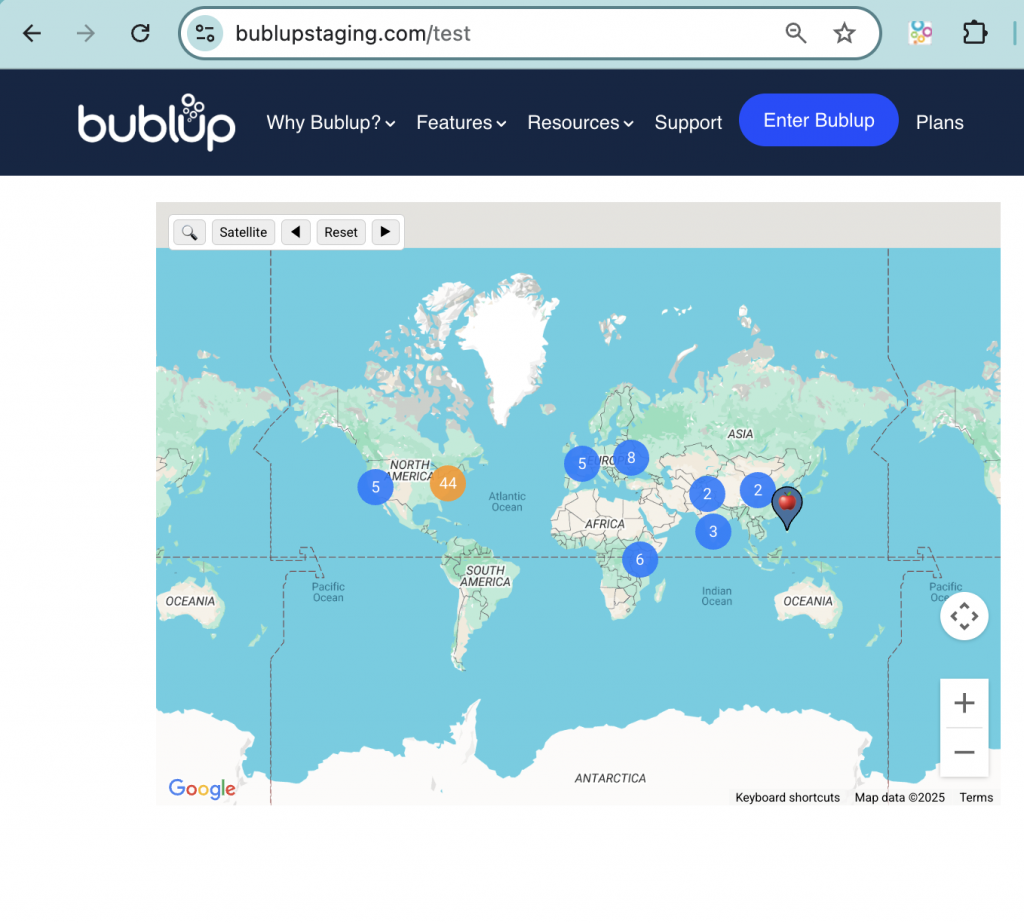
- Copy the HTML snippet and paste that code into your website in your desired location.
- You wil now see the embedded map on your website.
FAQs
Q: Is my exact location shown?
A: No. Your location is always shown at a general level, based on what you specify in your Community Profile settings.
Q: Can I hide my location later?
A: Yes. You can opt out anytime from your profile settings, and your pin will be removed instantly.
Q: Who can see the map?
A: Only members of your community who have access to the map tab.
Bublup’s interactive Community Directory & Map feature lets you see where community members and entities are located around the world—bringing people together.
The map shows pins or clusters of where members are located based on their profile settings. It gives you a live, zoomable view of your group’s geographic spread, offering a better sense of the global community you’re a part of.
Privacy note: Users must opt-in to share their approximate location. Exact addresses are never displayed, and locations are generalized for safety.
This feature requires a Business or Enterprise plan to set up, but all community members can participate.
How to Access the Directory & Map
- Open your Community space and go to ☰ menu →“Community Directory & Map”.

- This will open a separate tab with the community directory & map dashboard.
How It Works
- Zoom & Pan: Use your mouse or touch gestures to explore different areas of the map.
- Member Clusters: In areas with many members, pins will group together. Click on a cluster to zoom in and see individual members.
- Item Location Tags: Any items with location information set will also appear on the map.
- Click on Pins: Tapping a location pin reveals either a member’s community profile or an entity’s location information.
How to Search the Directory & Map
You can search based on a location, entity category, or person. In directory view, choose between searching “people” or “entities”. In map view, enable “people”, “entities” or both.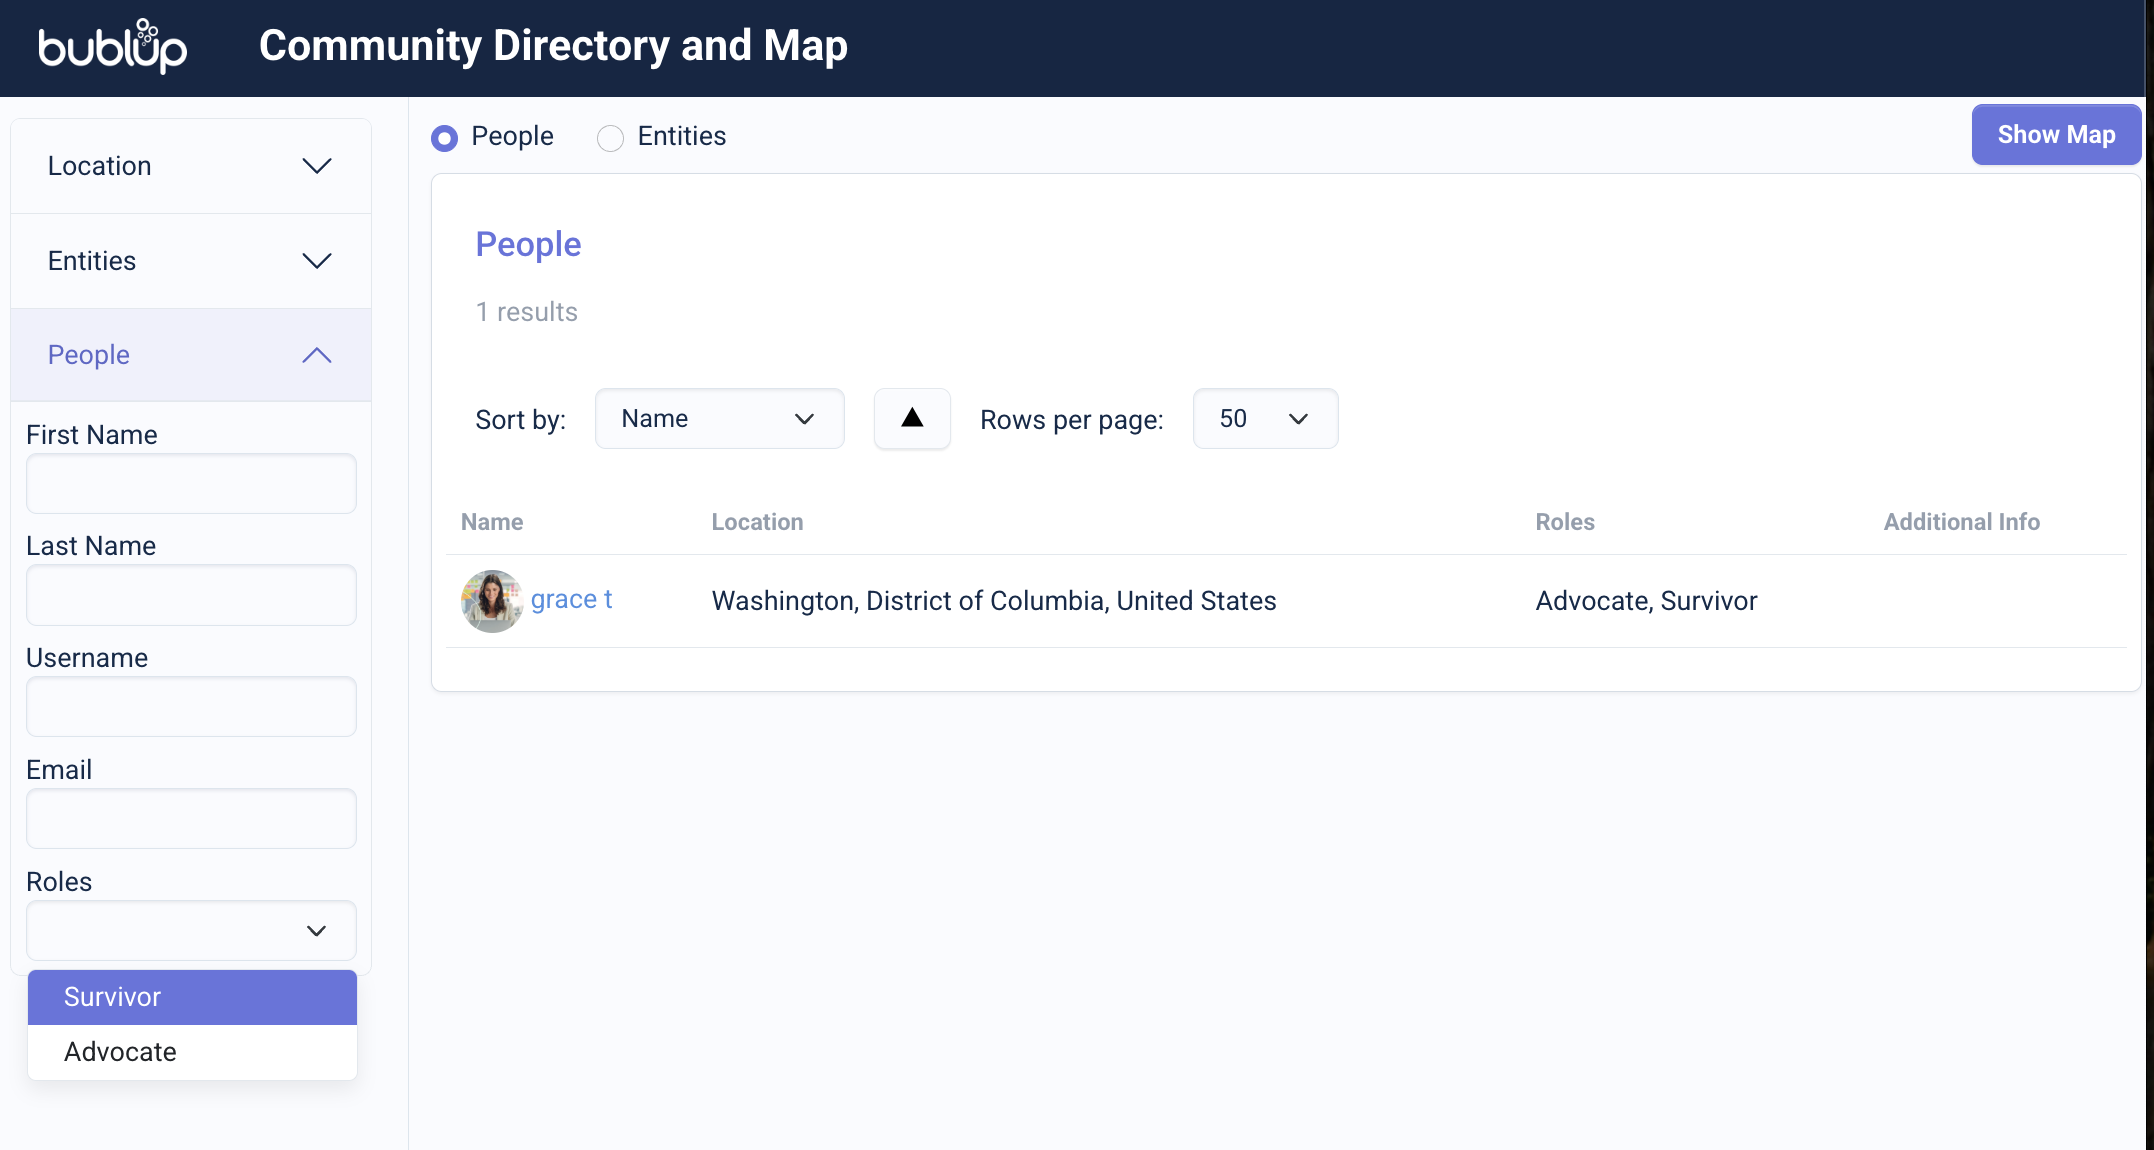
How to Share Your Location
In order to share your location, Community admins must first follow these steps to turn on the community profiles feature.
To appear on the map, open your Community and go to ☰ menu→“My Community Profile”. Then add your city of residence.
How to Add Location Info to Items
- Go to the item’s 3-dot menu and select “Set Location”.
- Type an address and select from the dropdown menu of verified addresses. Then click “save”.
- The item’s location information can be found in item details view under “Location”.
Learn how to bulk import items with location information here.
How to Show Items in the Community Directory & Map
In order to see items and their locations on the Community Map, admins must first enable the feature.
- Open your Community “settings” (gear icon) and navigate to “Community Map Categories”.
- Click “add map category”. Then name it and optionally assign an emoji and background color.
You can create and save multiple categories within your community. - Now, navigate to a specific subspace of your Community where you have items. Note: This setting needs to be enabled on a per-subspace basis within the Community.
- Go to “settings” → “Community Directory & Map” tab and click “edit”.
- Assign a category name to apply to all the items within this folder.
- These items will now appear in the directory and on the map under the specified category.
Branded Maps
If your community is branded, your directory and map site will also appear branded.
Embedded Maps
Add your community map to your website to showcase entities and resources.
- Open your Community settings (gear icon).
- Navigate to the “Community Embedded Map” tab and click the toggle to enable the feature.
- Enter your website url.
- Copy the HTML snippet and paste that code into your website in your desired location.
- You wil now see the embedded map on your website.
FAQs
Q: Is my exact location shown?
A: No. Your location is always shown at a general level, based on what you specify in your Community Profile settings.
Q: Can I hide my location later?
A: Yes. You can opt out anytime from your profile settings, and your pin will be removed instantly.
Q: Who can see the map?
A: Only members of your community who have access to the map tab.